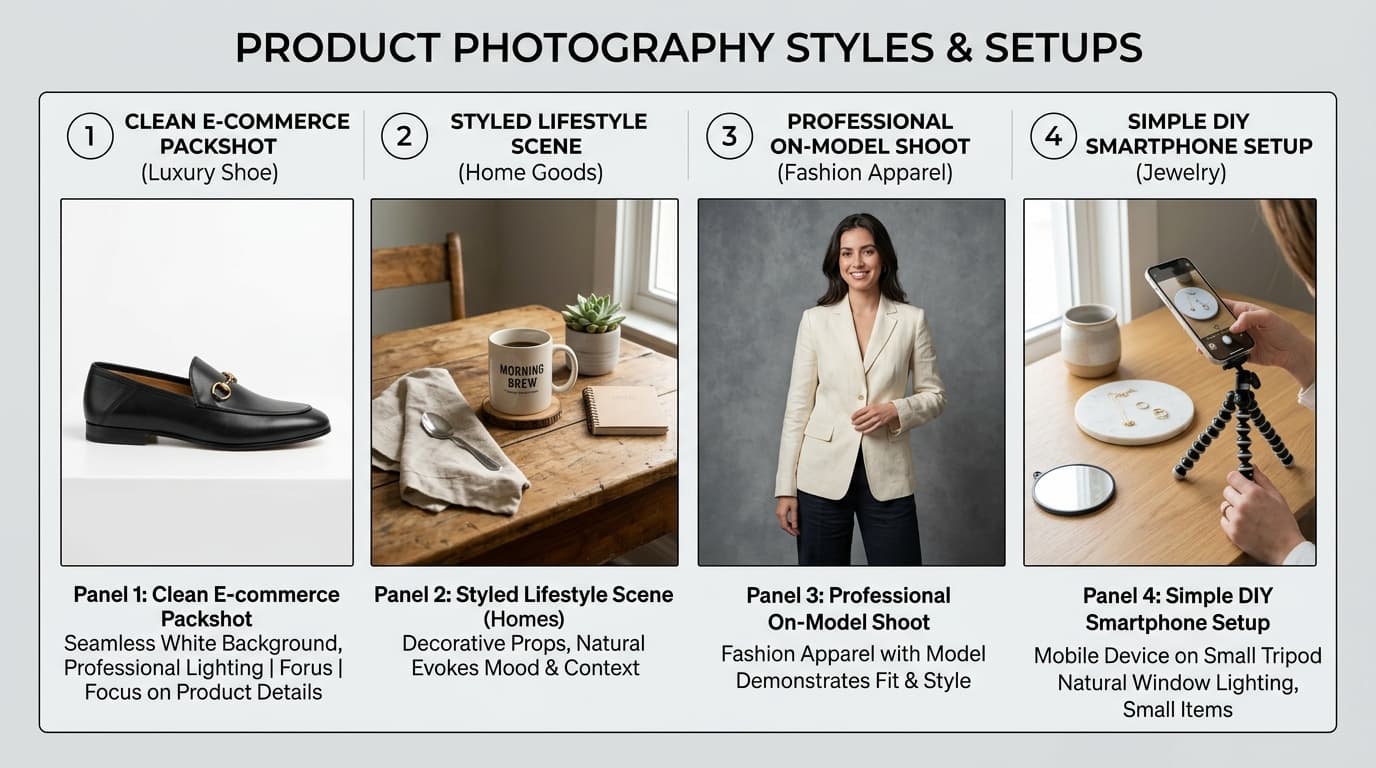
Quick Answer: For most beginners, good product photography lighting starts with a large, soft light source. That can be a bright window, a softbox, or a diffused continuous LED panel. The goal is not maximum brightness—it is even, controlled illumination that reveals product shape, true colors, and textures without distracting glare or harsh shadows.
A customer cannot pick up your product through a screen. They cannot turn it around in their hands, feel the fabric or leather, or see how the finish catches the light under different angles. Your e-commerce photos have to do all of that heavy lifting.
When product photography lighting is poor, even a premium item can look cheap. Colors shift away from reality, fine construction details disappear into dark shadows, and reflective surfaces become covered with blinding glare spots.
Good lighting does the exact opposite. It creates clear visual separation between the product and background, renders authentic hues, and exposes the tactile details that give shoppers the confidence to click "Buy Now."
Lighting is not merely a technical step in photography—it is a core part of the online buying experience.
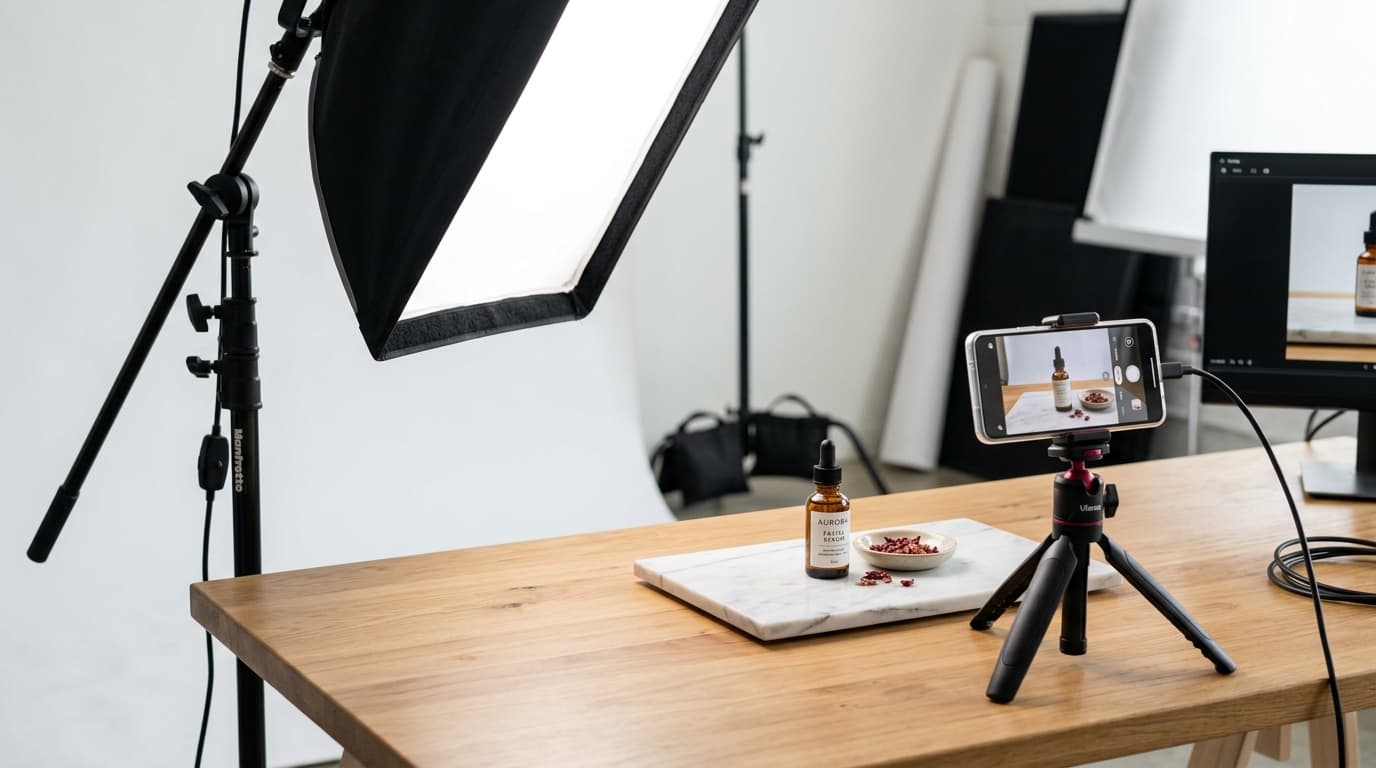
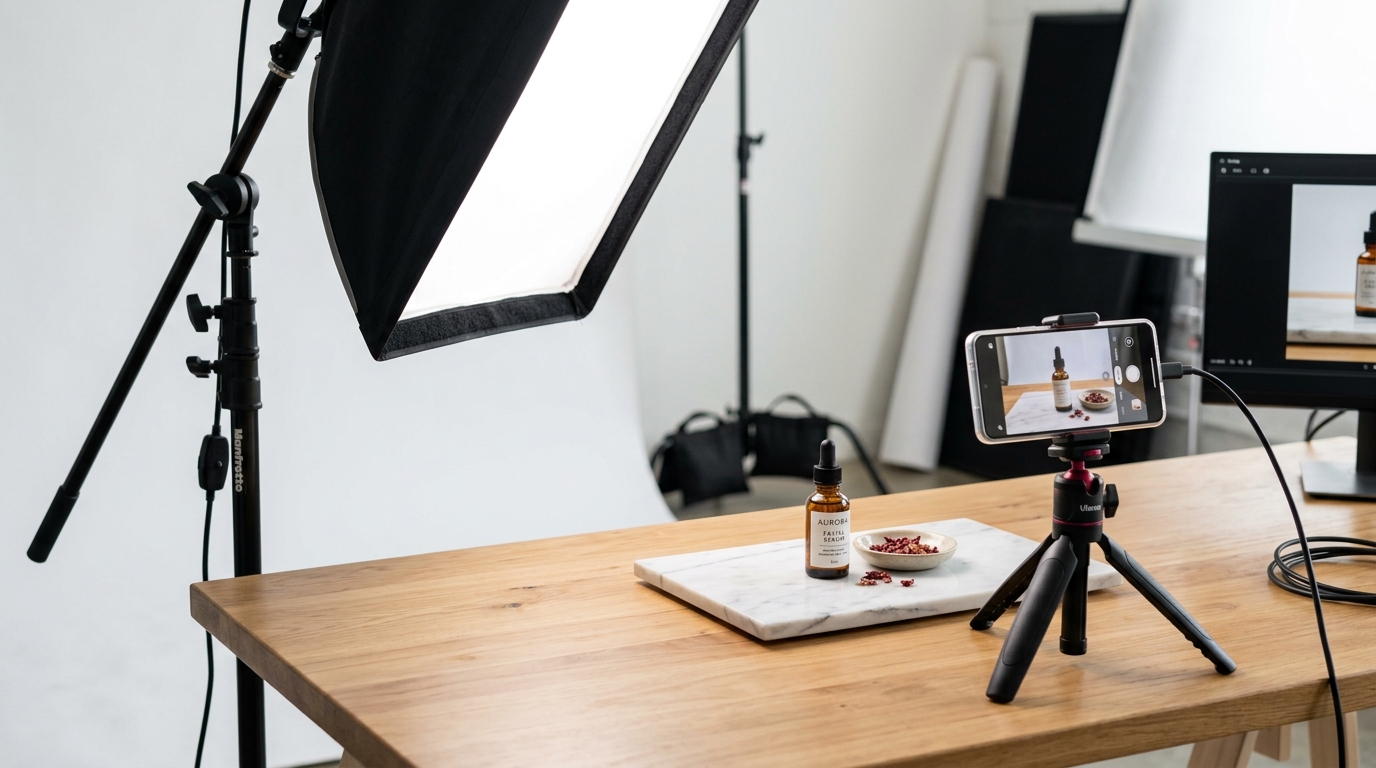 Softbox light positioned beside an ecommerce product photography setup
What is good product photography lighting?
For most online sellers and product creators, the safest and most versatile starting point is large, soft light.
Soft light is created when the light source is physically large relative to the product. It produces gentle, feathered transitions between highlights and shadows, avoiding stark black edges.
Soft lighting works reliably across nearly every physical product category:
- Apparel and clothing: Reveals weave texture and drape without harsh crease shadows.
- Jewelry and watches: Wraps smooth, continuous highlights around curved metal bands.
- Cosmetics and skincare: Keeps ingredient labels readable and bottles free of hot spots.
- Footwear and leather goods: Displays grain texture, stitching lines, and authentic leather sheen.
The goal is not to find one magical studio light that solves every problem. The key is building a simple, repeatable setup that you can easily position, adjust, and standardize across hundreds of catalog SKUs.
Natural light vs. artificial light
Choosing between sunlight and studio lights comes down to your production volume and scheduling requirements:
| Lighting Type | Main Advantages | Primary Drawbacks | Best For |
|---|---|---|---|
| Natural Window Light | Free, accessible, soft and flattering, zero technical setup | Inconsistent brightness, changes with time of day and clouds | Beginners, small artisan collections, daytime shoots |
| Artificial Studio Light | 100% repeatable, shoot day or night, consistent color temp | Requires initial investment ($50–$250) and power source | Growing stores, batch catalog production, multi-SKU drops |
Natural window light
A large, north-facing window (or any bright window diffused with sheer white curtains) is an outstanding, cost-free way to learn lighting. It teaches you how distance, angle, and bounce cards influence highlight falloff.
The primary limitation of sunlight is consistency. Sunlight changes hourly in angle, color temperature (warm sunrise vs cool midday), and intensity. A product shot at 10:00 AM may look noticeably different from one shot at 3:00 PM.
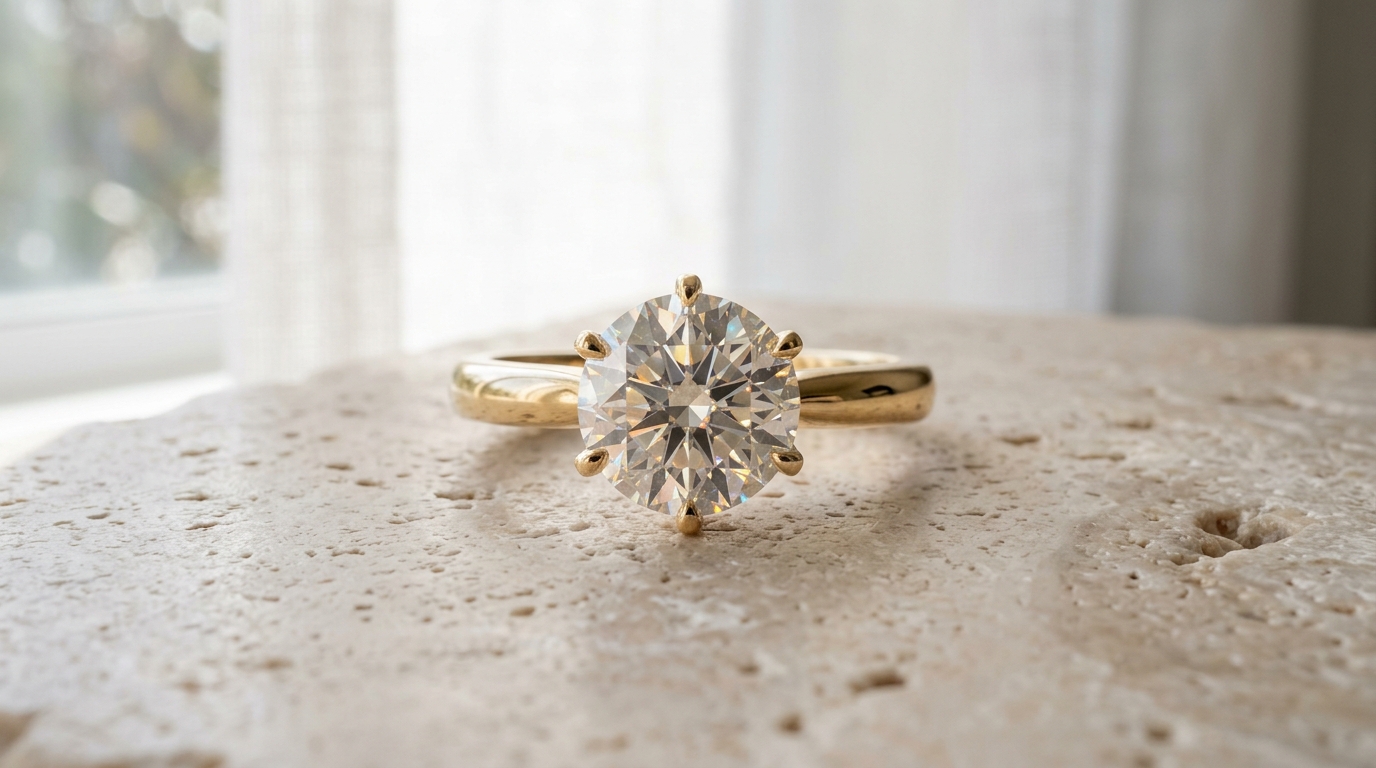 Small ecommerce product photography lighting setup using bright diffused window light
Artificial light
Artificial continuous lights or softboxes give you complete production autonomy. You can shoot at midnight or during a thunderstorm and achieve identical exposure, white balance, and contrast across every product listing.
Neither approach is inherently "better"—choose the method that supports your catalog's turnaround and consistency needs.
Softboxes: a strong beginner choice
A softbox is an enclosure that mounts over a light bulb or LED, passing the light through a white diffusion panel. By expanding the effective surface area of the light source, it softens shadows and diffuses bright spots.
To use a single softbox effectively:
- Position the softbox at a 45-degree angle to the product, slightly elevated above it.
- Place a clean white foam core bounce card on the opposite side to lift shadows gently.
- Take a test shot and adjust the distance: moving the softbox closer actually makes the light softer, while moving it farther away makes shadows sharper.
You do not need a complicated multi-light studio grid to create commercial product photos. A single well-placed softbox and a white bounce card can illuminate 90% of e-commerce products.
LED lights for product photography
Continuous LED panels have become the most popular choice for modern e-commerce product photographers because what you see is what you get.
Unlike traditional studio strobes and camera flashes (which fire instantaneously and require test shots to evaluate), continuous LED panels show you real-time highlights, shadow falloff, and reflections on your camera screen before you ever press the shutter.
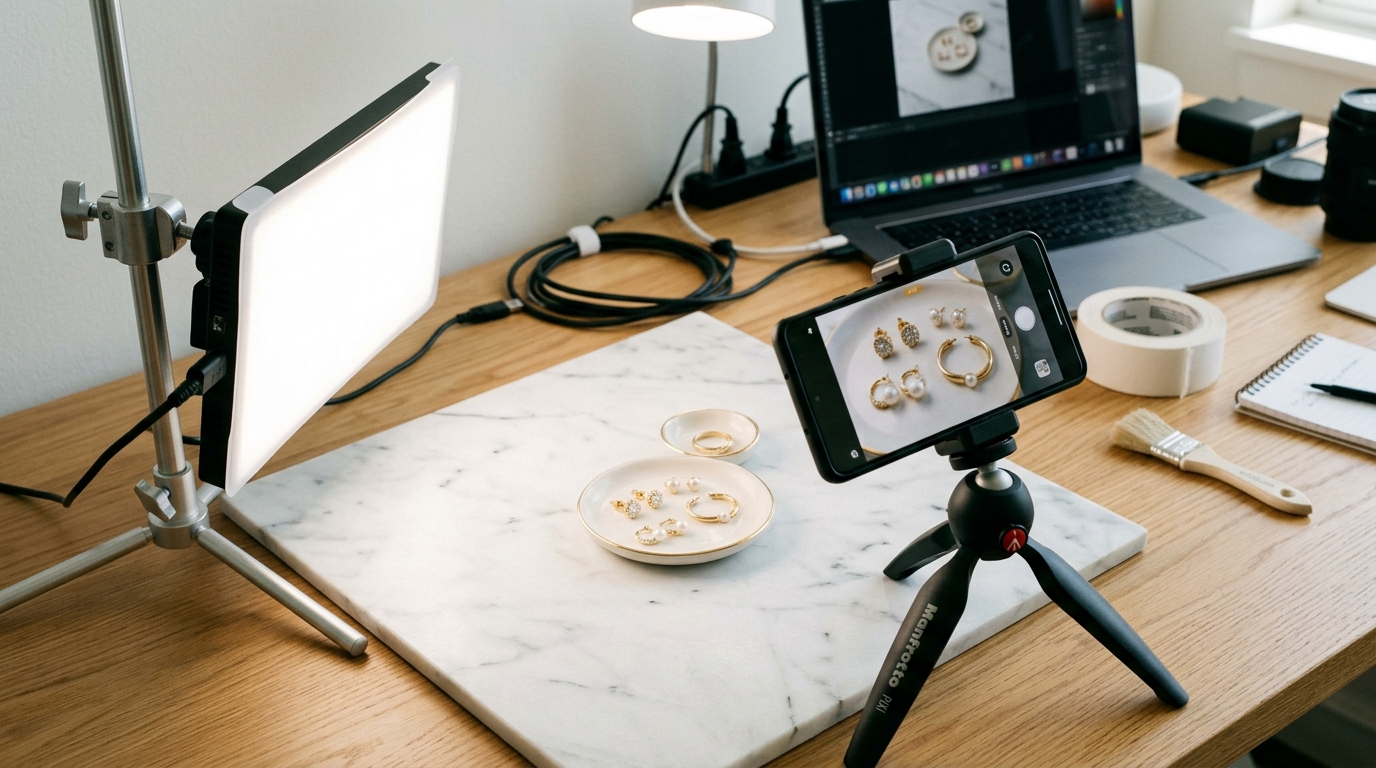 Continuous LED panel used to illuminate an ecommerce product on a tabletop
When selecting continuous LED lights:
- Look for a high Color Rendering Index (CRI 95+) to ensure colors stay true.
- Choose panels with adjustable color temperature (5500K–5600K daylight).
- Always use a diffusion filter or softbox cover; small bare LED bulbs produce harsh micro-shadows.
How many lights do you really need?
Usually, far fewer than beginners think.
One good soft light paired with a white reflector card is often enough to produce clean, professional e-commerce product images. Adding a second or third light before mastering the first introduces unnecessary variables that can create conflicting double shadows and confusing highlight reflections.
Add a second light only when you have a specific technical objective:
- Rim / Edge Light: To separate dark products (like black jackets or dark bottles) from dark backdrops.
- Background Light: To blow out a white background to pure HEX
#FFFFFFfor Amazon marketplace compliance.
A simple product photography lighting setup for beginners
Follow this 7-step process to build a foolproof, repeatable lighting rig:
- Set up a neutral surface: Use white foam board, light grey slate, or a matte marble tile.
- Clean and align the product: Wipe away all fingerprints, lint, and dust before positioning the item.
- Position the primary key light: Place one softbox or diffused LED panel at a 45-degree angle to the side, slightly elevated above the product.
- Place a white bounce card: Set a white cardstock or foam board directly opposite the light to fill in dark shadows.
- Inspect the product surface: Look closely at the product itself, not just the background.
- Fine-tune distance: Move the light closer to soften shadows or rotate the product slightly to redirect specular reflections.
- Document your settings: Note your light distance, angle, and camera exposure so you can replicate the exact setup for future product batches.
Hard light vs. soft light
Understanding the difference helps you choose the right mood for your brand:
- Hard light: Created by small, direct light sources (e.g., bare bulbs, direct midday sun). It produces crisp, dark shadows with high contrast. While popular in edgy fashion editorials, it is unforgiving for standard e-commerce listings.
- Soft light: Created by large, diffused light sources (e.g., softboxes, overcast sky, diffused LEDs). It produces gentle tonal gradations and smooth highlights, making it the industry standard for commercial product pages.
How to light reflective products
Highly reflective products—such as polished gold jewelry, chrome hardware, glassware, and glossy cosmetics—do not just absorb light; they reflect their entire environment.
A polished ring or watch will mirror your room walls, ceiling fixtures, camera tripod, and yourself. Adding more raw light only intensifies these blinding reflections.
To light reflective items cleanly:
- Use a light tent, diffusion cone, or oversized softbox placed very close to the item. This surrounds the product with clean white diffusion rather than cluttered room reflections.
- Move the product or angle slightly until unwanted reflections bounce away from the camera lens.
- For dedicated jewelry techniques, consult our comprehensive guide on How to Photograph Jewelry Without a Macro Lens and explore Shotinger Jewelry & Accessories AI.
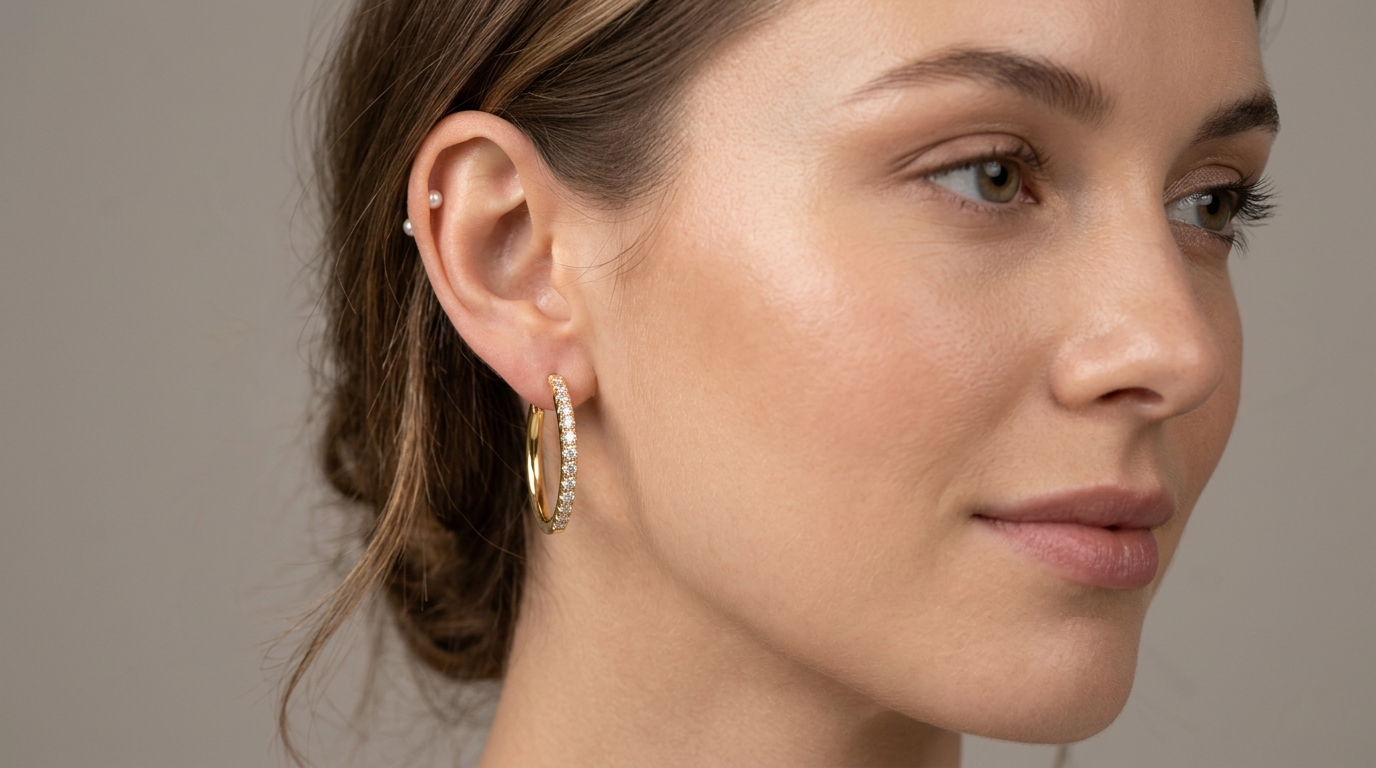 Jewelry photographed with soft controlled light and a neutral background
Product photography lighting for clothing
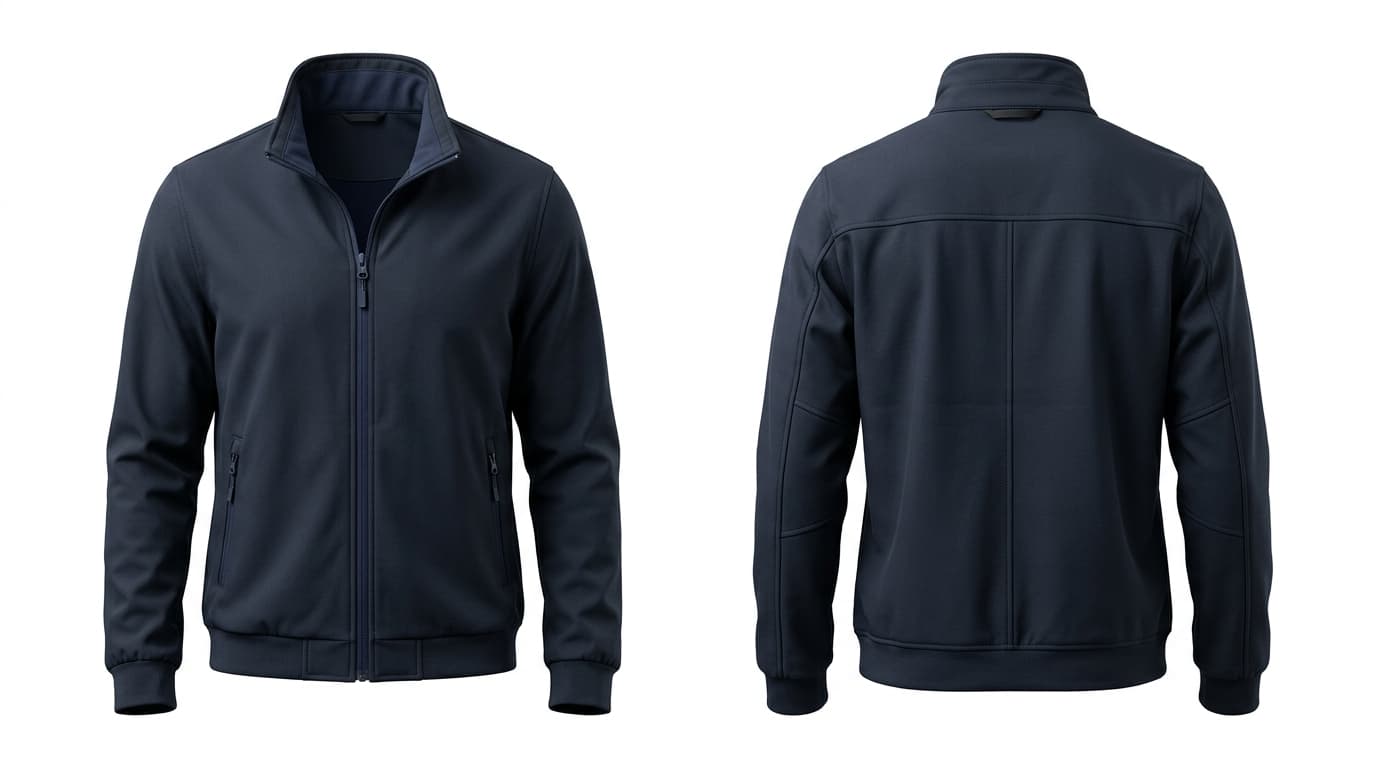
Apparel is generally less reflective than jewelry, but consistent lighting is critical to communicate silhouette, weave texture, and authentic fabric color.
- Flat Lays: Illuminate the garment from one side with a large softbox positioned slightly overhead to create subtle depth in seams and folds without deep shadows. For complete flat lay staging, see our Flat Lay Clothing Photography Guide.
- On-Model and Mannequin: Use two large softboxes on either side to provide even head-to-toe illumination. If using ghost mannequin setups, see our Ghost Mannequin Photography Guide.
What about ring lights?
Ring lights are designed primarily for vlogging, beauty makeup tutorials, and front-facing portraiture. While convenient, they are rarely the best choice for product photography.
On reflective surfaces (like sunglasses, watches, glossy cosmetic jars, or jewelry), ring lights cast distinct circular "doughnut" reflections that look artificial and distracting. Use dedicated rectangular softboxes or diffused LED panels instead.
Color consistency matters
Your product lighting should never make the same SKU look different from one week to the next. A crisp white t-shirt should never look creamy yellow on one page and icy blue on another.
- Set your camera or phone white balance to a fixed 5500K (Daylight) setting rather than Auto White Balance (AWB).
- Keep ambient room lights (warm yellow ceiling bulbs) turned off while shooting to avoid mixed color temperatures.
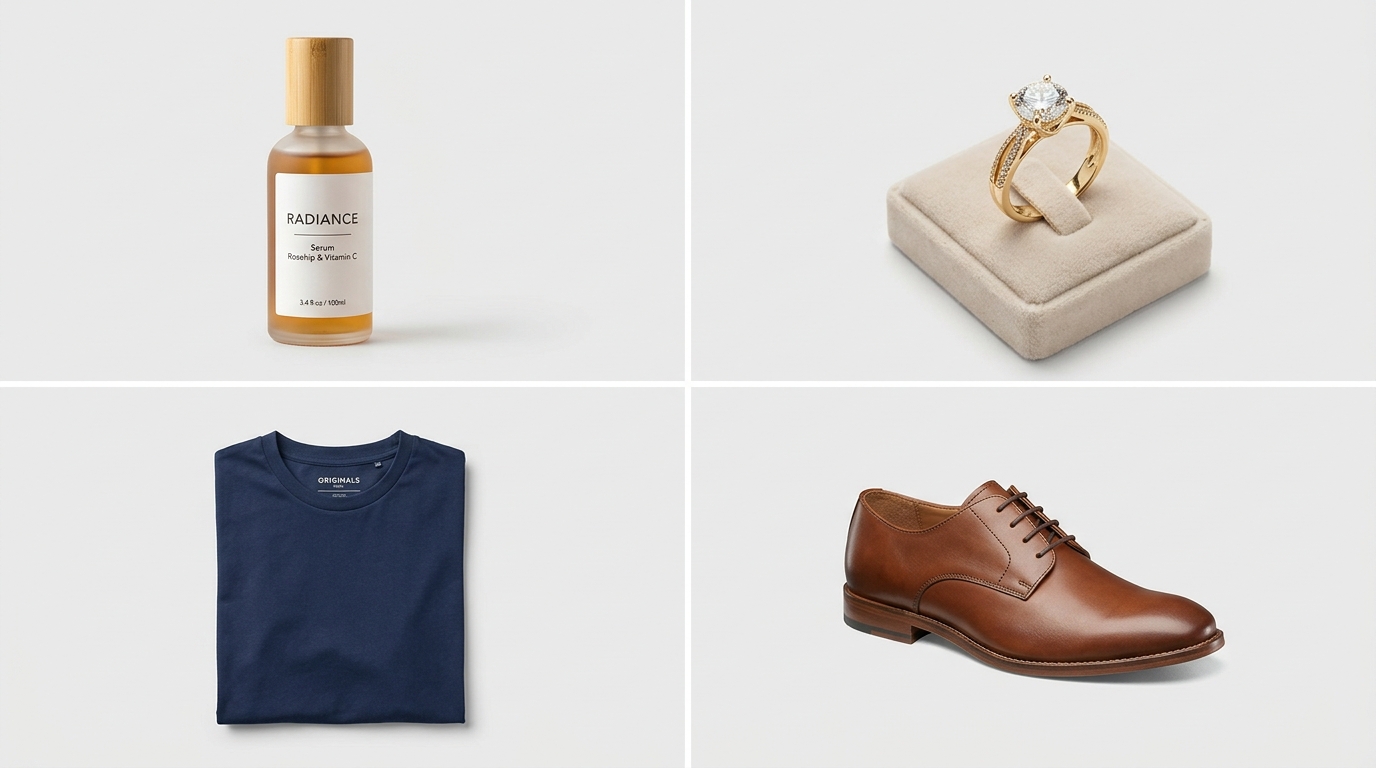 Consistent product photography lighting used across a product catalog
Choosing lights based on what you sell
Different product types require specific lighting strategies:
- Clothing & Fashion: Large 24x36" softbox or tall continuous LED panel to evenly illuminate full silhouettes.
- Jewelry & Small Metals: Diffused tabletop light tent or close-proximity softbox with white bounce cards.
- Skincare & Cosmetics: Medium softbox with side fill to keep ingredient labels sharp and readable.
- Footwear & Bags: Broad overhead soft light with low side fill to reveal leather grain and stitching.
- Handmade Crafts: Diffused natural window light or a single compact LED panel.
Should you buy expensive product photography lights?
Not necessarily. Before purchasing expensive professional lighting equipment, identify the actual bottleneck in your current photos:
- Photos are blurry? Stabilize your camera with a mini tripod ($15–$30).
- Shadows are too harsh? Add a sheet of diffusion paper or sheer curtain ($5–$15).
- Reflections look ugly? Increase light source size or adjust product angle.
- Colors are shifting? Lock your camera white balance to 5500K daylight.
- Production is too slow? Streamline your physical staging workflow or explore AI generation.
Traditional lighting vs. AI-assisted product photography
Mastering physical studio lighting is an essential skill for shooting clean source packshots. However, as your catalog expands to hundreds of SKUs, physically rebuilding lighting sets for every lifestyle scene or seasonal campaign becomes time-consuming and expensive.
With Shotinger Product Studio, you can take a single cleanly lit product photo and instantly generate:
- Over 20+ studio and lifestyle environments with realistic contextual lighting and cast shadows.
- More than 8+ camera angles (macro close-ups, top-down flat lays, eye-level views, and floating angles).
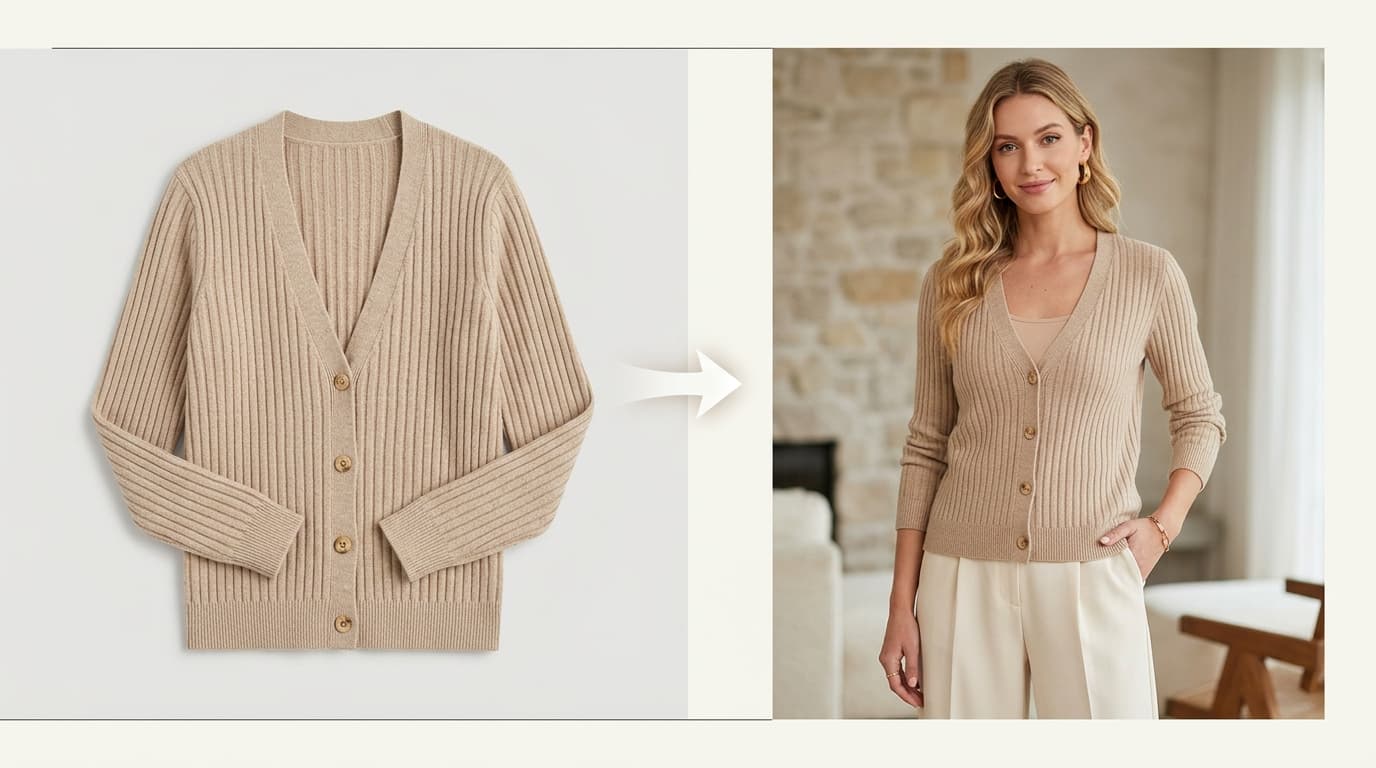
- On-model lifestyle scenes with Shotinger Apparel Lifestyle and Jewelry & Accessories without booking models or studio locations.
For full garment production workflows, review our comprehensive Clothing Photography Guide.
Why consistency beats complexity
Imagine two competing e-commerce stores:
- Store A has dramatic, highly stylized photos, but every SKU features different lighting, background colors, and framing.
- Store B uses a simple single-light tabletop setup, but every single product follows identical visual rules.
Store B will consistently convert better because visual consistency builds buyer trust and makes catalog browsing effortless. Find a simple lighting setup that works, document your exact light placement, and repeat it across your entire store.
A practical 5-minute lighting test
Before spending money on new lights, take a single product and photograph it under three conditions:
- Diffused natural window light with a white bounce card.
- A single continuous LED panel or softbox.
- Your current lighting setup.
Compare the three images at the actual size customers view them on mobile screens. Choose the setup that makes product shape, finish, and color easiest to understand.
Product lighting for Shopify, Amazon, and Etsy
- Shopify Stores: Build rich, multi-image product galleries combining clean studio packshots, macro detail views, on-model photos, and lifestyle scenes.
- Amazon Listings: Amazon strictly requires pure white backgrounds (
#FFFFFF) with balanced, shadow-free lighting for primary hero images. Use secondary carousel slots for contextual and lifestyle lighting. - Etsy: Warm, natural daylight and lifestyle lighting perform exceptionally well in Etsy search results.
Common lighting mistakes to avoid
- Using bare household bulbs: Creates harsh yellow color casts and ugly specular glare.
- Overcomplicating multi-light setups: Introducing 3+ lights before mastering one key light.
- Ignoring reflective surroundings: Letting colored room walls or dark shirts reflect onto polished products.
- Over-brightening images: Blowing out highlight details in an attempt to make the photo "cleaner."
- Mixing color temperatures: Combining warm room lamps (2700K) with cool daylight (5500K).
Frequently asked questions
What are the best lights for product photography?
For most beginners, a large continuous LED softbox kit (5500K daylight balanced) or bright diffused natural window light offers the best combination of soft shadow control, color accuracy, and ease of use.
Are LED lights good for product photography?
Yes. Continuous LED lights allow you to see reflections, highlights, and shadow falloff in real time on your camera screen before taking the shot, making them ideal for beginners and fast-paced e-commerce teams.
Is natural window light good for product photography?
Yes. Natural light diffused through sheer curtains produces soft, commercial-quality product photos at zero equipment cost, though it lacks the 24/7 consistency of artificial studio lights.
How many lights do I need for product photography?
One good soft light source paired with a white foam bounce card is sufficient for the vast majority of e-commerce product photos.
Is a ring light good for product photography?
While useful for beauty vlogging, ring lights cast distinctive circular reflections that can look unnatural on shiny products like jewelry, glassware, and glossy packaging.
What lighting is best for jewelry photography?
Jewelry requires large, heavily diffused light sources positioned close to the piece, combined with bounce cards and light tents to eliminate distracting room reflections.
Final product photography lighting checklist
- Product is cleaned and completely free of dust, lint, and fingerprints
- Camera/smartphone is stabilized on a tripod
- Light source is physically large and diffused (softbox, LED panel, or sheer curtain)
- A white bounce card is placed opposite the light to fill dark shadows
- Glare and specular reflections on metal/glass are controlled and intentional
- White balance is locked to 5500K daylight to prevent color shifts
- Lighting setup is standardized across all SKUs in the collection
- Images meet the specific lighting and background requirements of your sales channel
Ready to scale your product visual production?
Transform your clean product photos into diverse commercial studio and lifestyle imagery in seconds with Shotinger.
Explore Shotinger Product Studio →
Start creating campaign-ready product visuals
Transform flat lays, packshots, and jewelry photos into photorealistic on-model imagery in under 60 seconds.