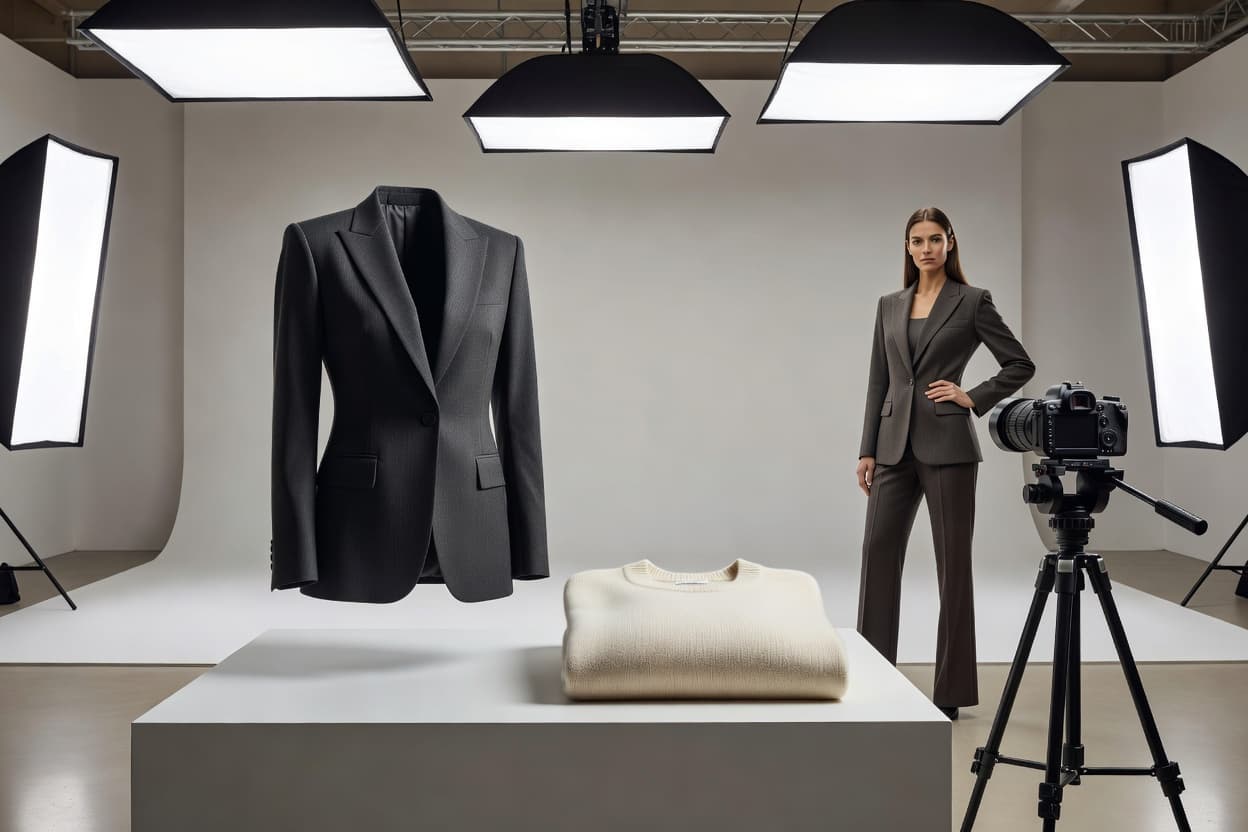
A practical ecommerce clothing photography guide: preparation, lighting, camera setup, flat lay, ghost mannequin, on-model photography, editing, and AI-assisted workflows.
Quick Answer: Use clean garment preparation, controlled soft lighting, a neutral background, accurate color calibration, and consistent framing. Choose Flat Lay Clothing for efficiency, Ghost Mannequin for 3D garment structure, on-model photography via Apparel Lifestyle for fit and styling context, and Apparel Studio when you need scalable visual variations across colorways and seasonal campaigns.
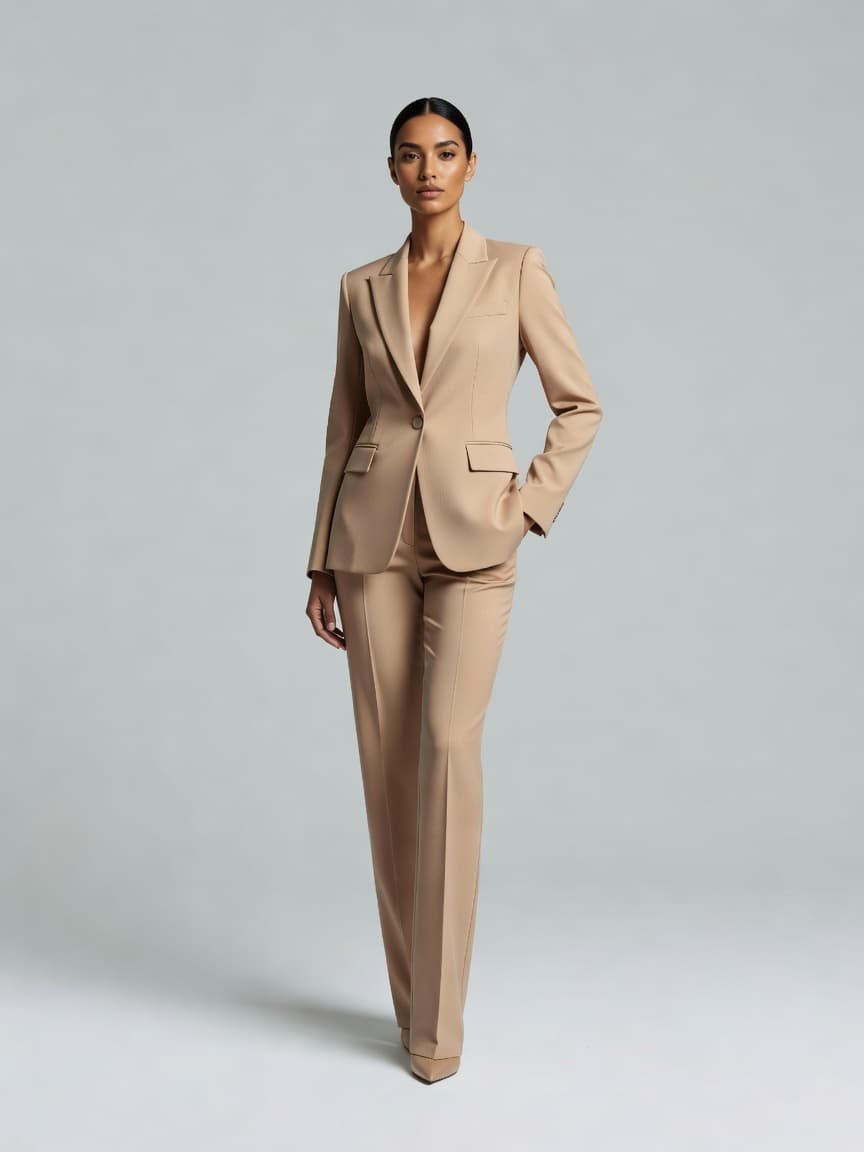
 clothing product photography setup for ecommerce
1. What makes a clothing photo sell online
When shoppers browse apparel online, they cannot touch the fabric, test the stretch, or check how the collar sits around their neck. Photography is the primary tool that reduces buyer uncertainty.
Your product images should communicate five essential attributes:
- Shape & Silhouette: How the garment is cut (relaxed, slim, oversized, cropped).
- True-to-Life Color: Calibrated under neutral lighting to prevent returns caused by mismatched shades.
- Fabric Texture & Weave: High-resolution close-ups revealing knit gauge, linen slubs, denim twill, or silk sheen.
- Garment Construction: Clean views of stitching, hems, buttons, zippers, linings, and pockets.
- Fit & Drape: How the material hangs, moves, and fits on a human body.
The strongest ecommerce images are rarely the most artistic; they are the ones that make the product immediately understandable and trustworthy.
2. Prepare the clothes before taking photos
Preparation often matters more than expensive camera gear. Small wrinkles, lint particles, crooked collars, or misaligned buttons become glaringly obvious on high-resolution product pages and mobile screens.
Before shooting any garment, follow this five-step preparation checklist:
- Steam or iron every piece: Eliminate packing folds and transit creases, paying special attention to plackets, lapels, and hemlines.
- Remove lint, loose threads, and dust: Use a sticky lint roller across the entire surface, especially on dark fabrics and wool knits.
- Check closures and alignment: Button every button evenly, zip zippers completely, and ensure pocket flaps lie flat.
- Arrange sleeves and legs symmetrically: Align cuffs and hems so proportions look balanced in the viewfinder.
- Tag details for close-ups: Identify unique selling points (embroidered logos, custom hardware, lined interiors) that warrant secondary detail shots.
3. Build a repeatable photography setup
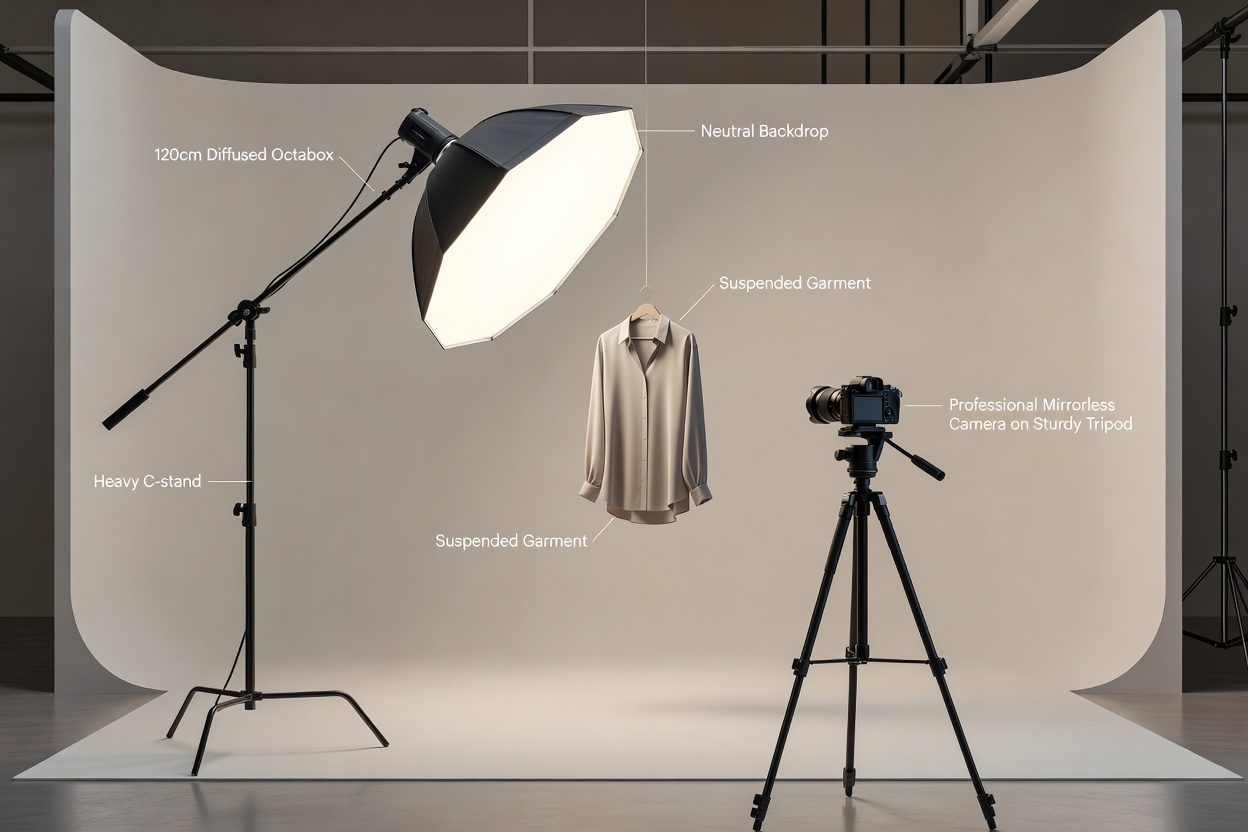
For ecommerce brands, consistency is a major production advantage. Rebuilding your lighting, shifting your tripod height, or changing your backdrop for every SKU wastes hours and makes your store catalog look disjointed.
clothing product photography setup for ecommerce
Core elements of a repeatable studio setup
- Large soft light source: Use a 90cm–120cm octabox softbox or heavily diffused natural window daylight placed at a 45-degree angle to the garment. Soft light minimizes harsh shadows while preserving delicate fabric texture.
- Neutral backdrop: A seamless white, light gray, or neutral off-white paper sweep prevents unwanted color bounce.
- Fixed camera position: Mount your camera or smartphone on a sturdy tripod at chest height (approximately 1.2m–1.4m), 2–3 meters away from the garment.
- Locked manual exposure & white balance: Set your camera to manual mode (
ISO 100,f/8–f/11,1/160s) and calibrate custom white balance using a neutral gray card.
Practical Rule: Once you establish a lighting and camera setup that produces accurate color and readable texture, measure the distances, document your camera settings, and reproduce that exact configuration for every batch.
4. Choose the right clothing photography style
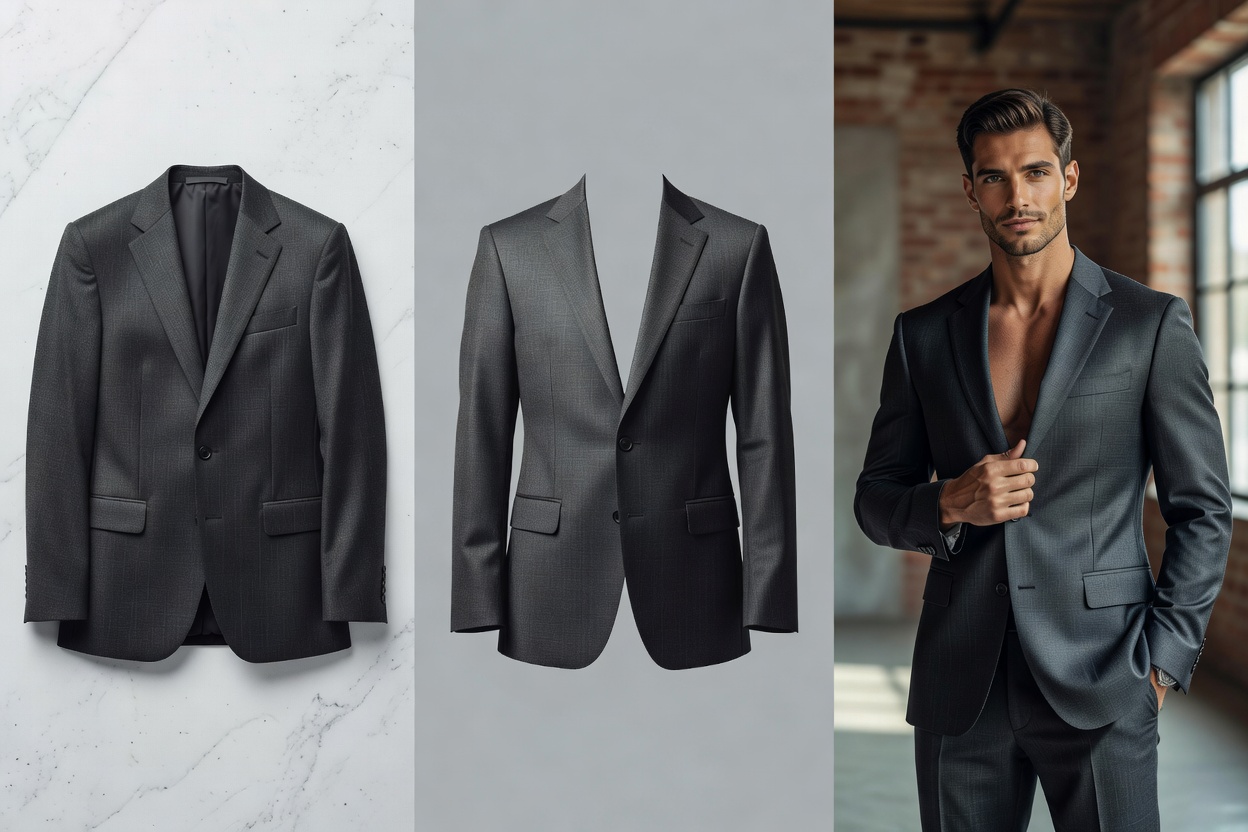
Different garments and customer segments require different visual formats. E-commerce apparel photography relies on four primary approaches:
 flat lay, ghost mannequin and on-model clothing photography
Flat lay
Simple, repeatable, and cost-effective. Garments are styled flat on a clean surface and photographed directly from above. Best for everyday staples, folded knitwear, t-shirts, shorts, and accessories. You can automate this look using Shotinger Flat Lay Clothing.
Ghost mannequin (Invisible mannequin)
Preserves the three-dimensional volume, collar depth, and inner lining of a garment while removing the physical mannequin. Ideal for structured outerwear, blazers, button-down shirts, and dresses. Explore Ghost Mannequin AI to produce 3D apparel visuals without manual Photoshop neck-joint cutouts.
On-model photography
Shows how clothing drapes, stretches, and fits across real proportions. Essential for high-ticket fashion, swimwear, denim, and dresses where fit directly drives the purchase decision. DTC brands use Shotinger Apparel Lifestyle to cast diverse virtual models without multi-thousand-dollar casting fees.
Lifestyle photography
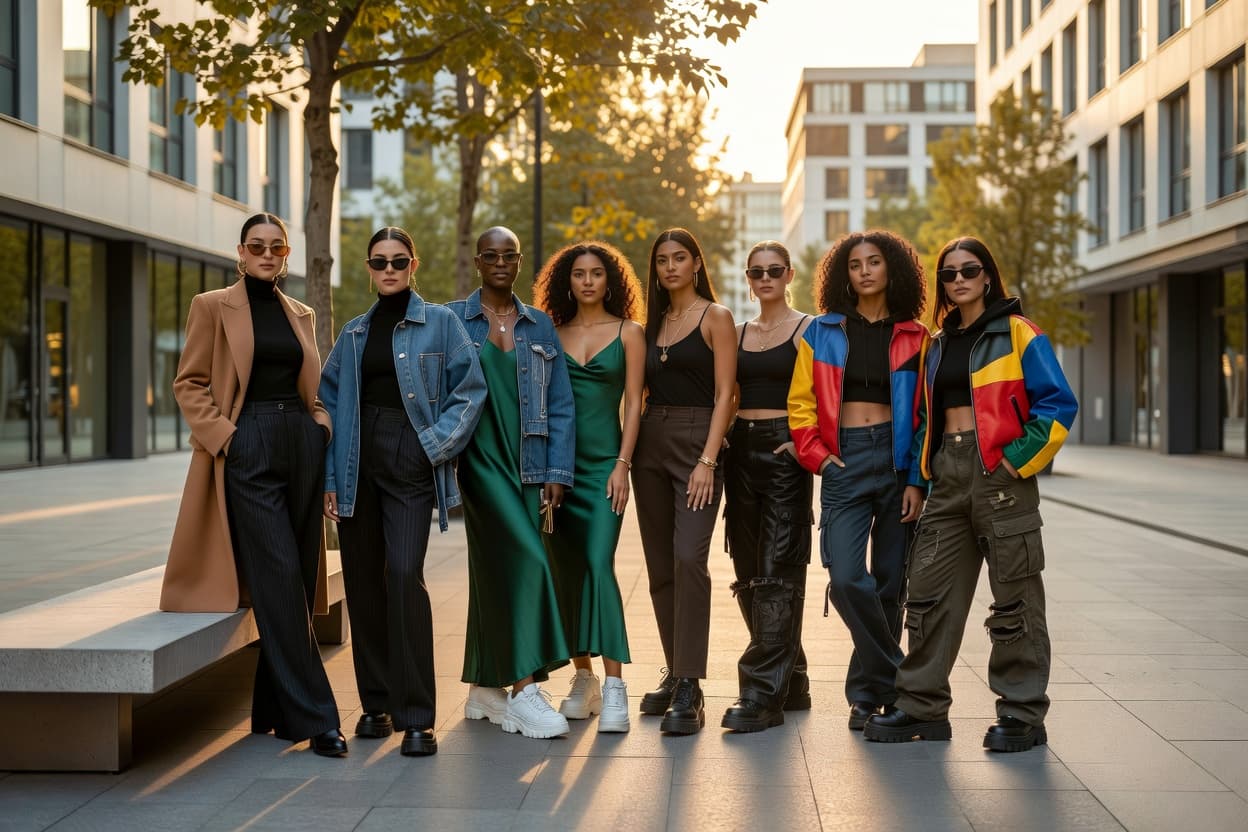
Places apparel in real-world contextual environments (urban streets, architectural cafes, coastal resorts). Excellent for hero banners, social ads, and lookbooks, though harder to standardize at high catalog volumes.
5. How to photograph clothes to sell: step-by-step
Follow this standardized six-step production framework for every garment in your collection:
- Step 1 — Define the image set: Decide what each SKU requires before touching the camera (e.g., front hero, back view, 45-degree profile, macro fabric detail, and styling shot).
- Step 2 — Prepare the garment: Steam thoroughly, roll for lint, and fasten all hardware.
- Step 3 — Fix the setup: Lock the background, lighting softbox position, camera height, and focal length (50mm–85mm recommended).
- Step 4 — Shoot the primary hero image: Frame the full garment centered in the frame with 10%–15% breathing room around all edges.
- Step 5 — Capture useful secondary views: Photograph collar construction, pocket details, cuff stitching, fabric close-ups, and the rear view.
- Step 6 — Inspect at 100% zoom before moving on: Verify tack-sharp focus on the fabric weave, check for stray dust or missed wrinkles, and confirm exposure before packing away the sample.
6. Flat lay clothing photography: a simple method
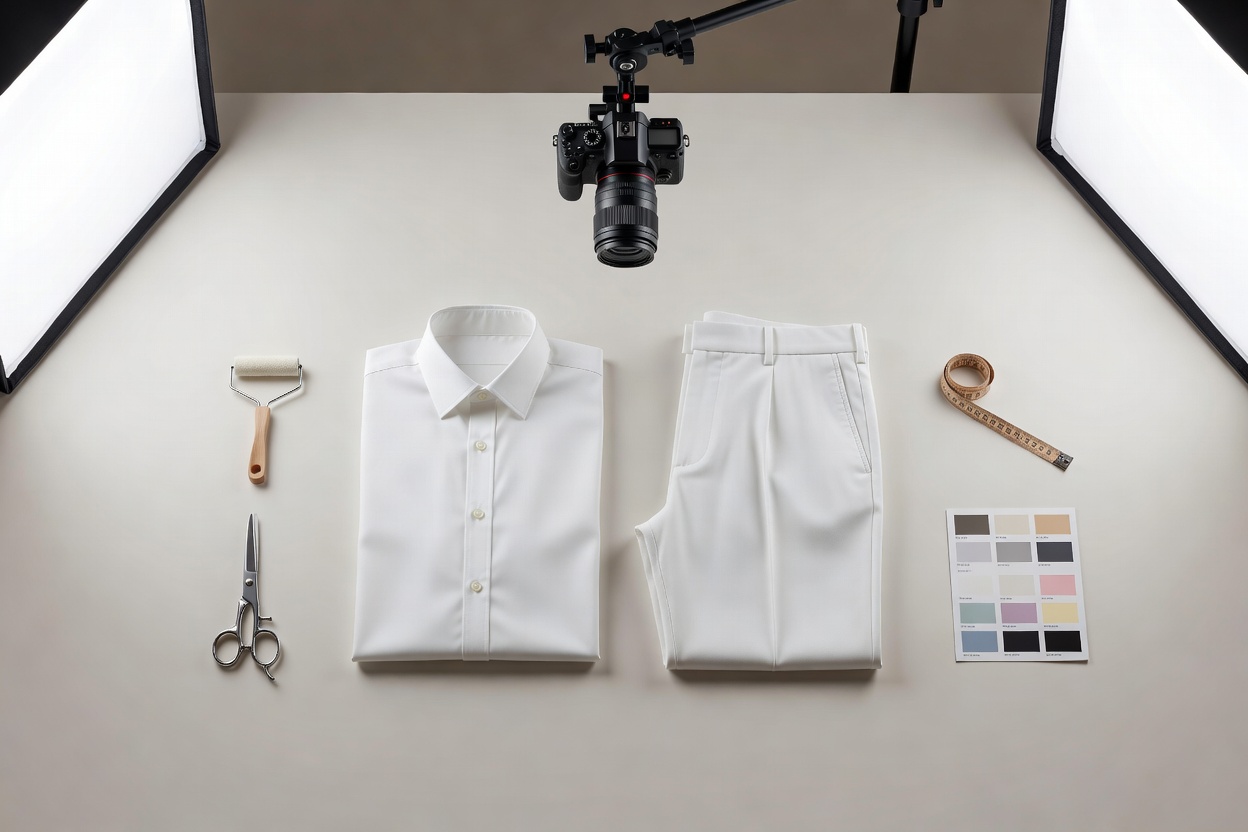
Flat lay photography is the backbone of modern apparel catalogs and marketplace listings.
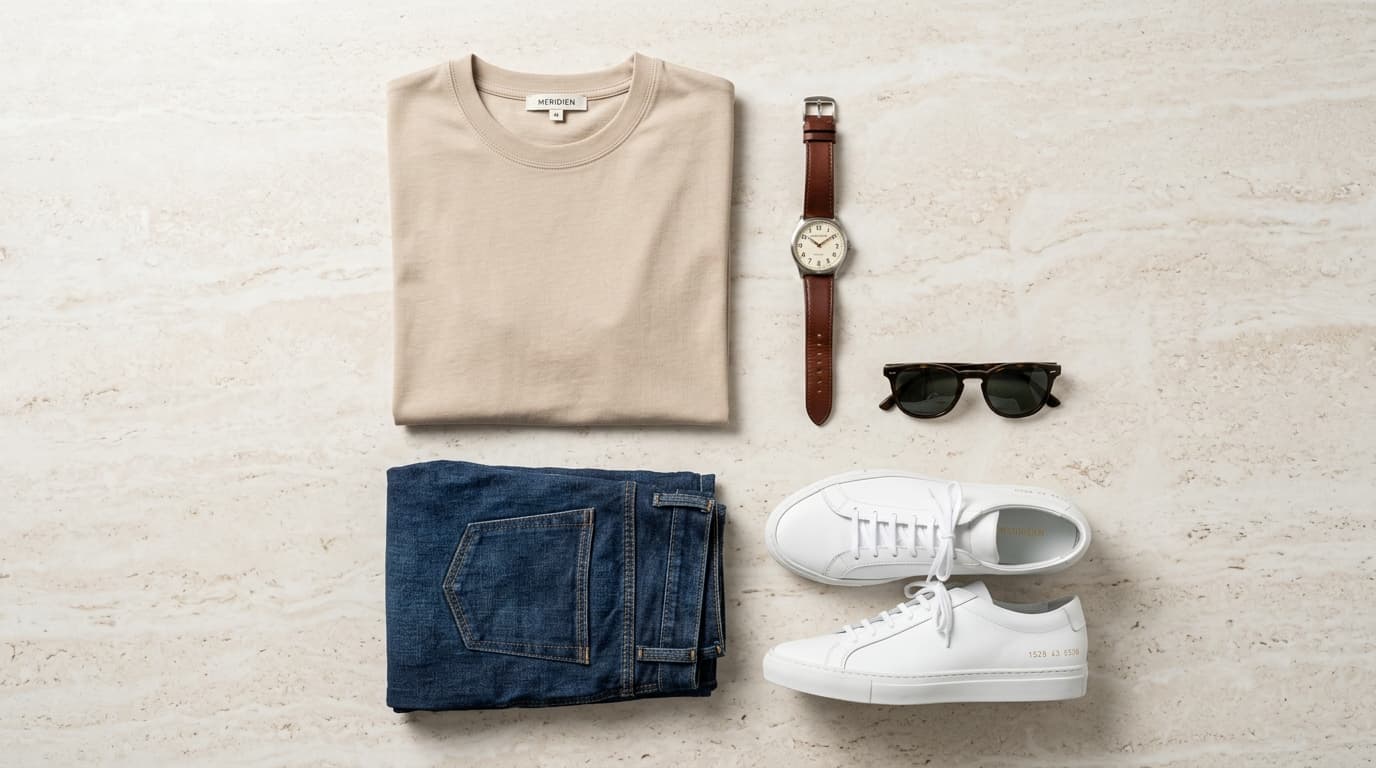
 flat lay clothing photography setup
Step-by-step overhead flat lay technique
- Surface preparation: Use a non-reflective matte foam board, seamless paper roll, or clean tabletop.
- Overhead camera mounting: Mount your camera on a C-stand with a horizontal boom arm pointing straight down at a 90-degree angle.
- Garment styling: Lay the garment flat. Gently tuck in the side seams to accentuate waist definition. Fold sleeves naturally at a 45-degree angle or straight down.
- Even illumination: Position two soft lights on opposite sides at 45 degrees, or use one large diffused softbox paired with a white foam core reflector board on the opposite side to balance shadows.
- Consistent margins: Maintain identical spacing from the top collar and bottom hem across every SKU in the collection.
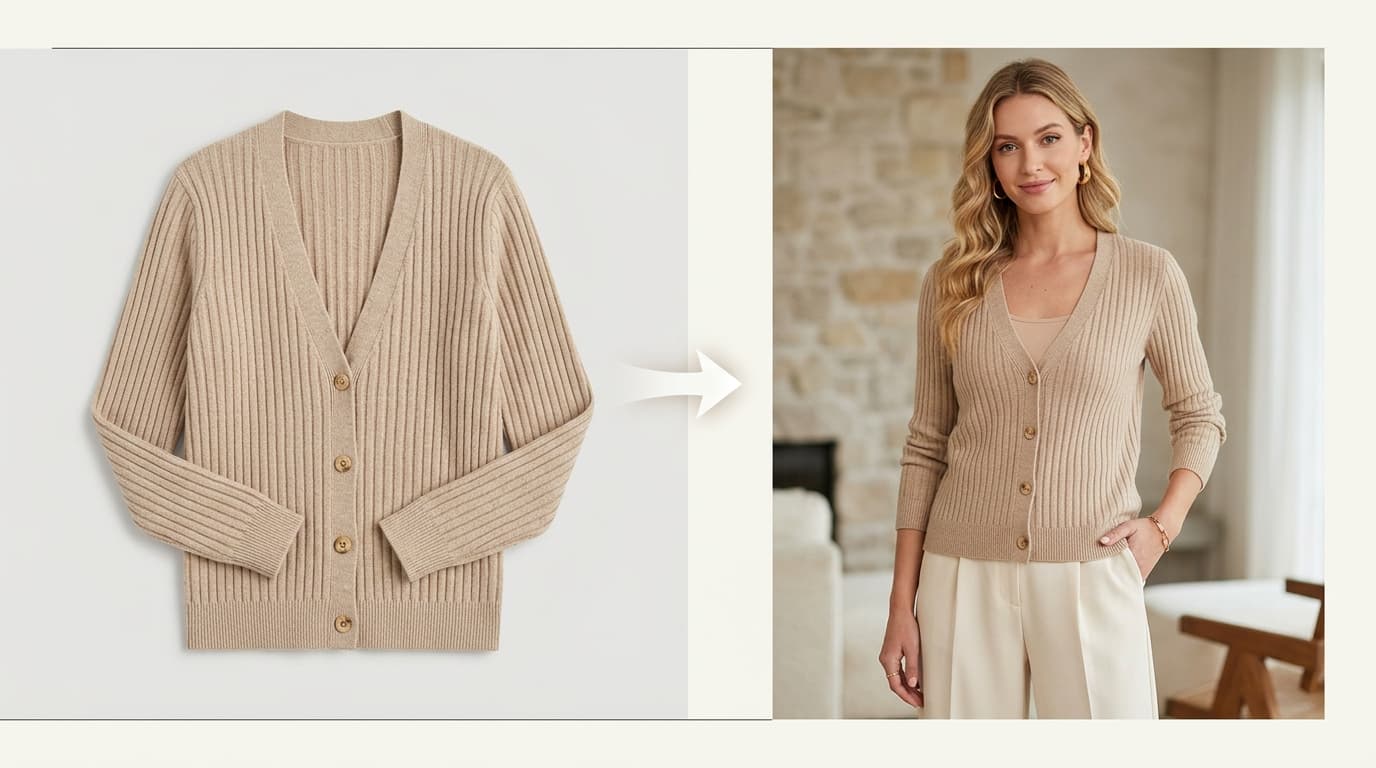
If setting up overhead booms and styling dozens of garments is too time-consuming, Shotinger Flat Lay Clothing lets you upload a basic flat photo and instantly generate clean top-down catalog flat lays across 12+ solid studio backdrops.
7. Ghost mannequin and on-model photography
Choosing between ghost mannequin and on-model presentation depends on what information your shopper needs most:
- Use Ghost Mannequin when you want zero distractions from hair, makeup, or model demographics, and want shoppers to focus 100% on garment architecture, collar structure, and fabric tailoring.
- Use On-Model Photography when your product’s value depends on lifestyle aspirational context, styling inspiration, or specific body proportions.
Neither format is universally superior; high-performing Shopify and Amazon stores often pair a clean ghost mannequin or flat lay hero shot with 2–3 on-model lifestyle photos in the product gallery.
8. How to photograph different types of clothing
Different apparel categories have distinct focal points:
T-shirts and tops
Prioritize the neckline shape (crew vs. V-neck), shoulder seam alignment, sleeve length, and overall drape. Keep collar ribbing crisp and avoid fabric bunching around the armpits.
Dresses and jumpsuits
Capture the full silhouette, waistline taper, slit placement, and fabric drape. On-model visuals created with Apparel Lifestyle provide crucial proportion context for maxi and midi lengths.
Jeans and trousers
Highlight waistband construction, pocket placement, fly closure, and leg cut (straight, tapered, wide-leg). Include a dedicated rear shot to show back pocket symmetry and yoke construction.
Jackets and coats
Show lapel roll, heavy zippers, storm flaps, cuff straps, and internal lining. A dimensional 3D view using Ghost Mannequin AI reveals jacket depth far better than a flat lay.
Black and dark clothing
Dark fabrics absorb light. Use soft, diffused edge/rim lighting and increase background separation so the silhouette doesn't blend into dark shadows. Keep exposure slightly elevated to reveal seam construction.
White and pastel clothing
Protect your highlights. Avoid overexposing white garments, which washes out fine stitching and fabric weave. Set your exposure based on the brightest fabric highlight and use subtle directional lighting to create soft tonal contrast across folds.
9. Editing: improve clarity without changing the product
Post-production should clean up technical distractions while preserving the true physical identity of the garment:
- Exposure & White Balance: Neutralize color casts caused by ambient room light.
- Background Cleaning: Ensure background tones match across your entire grid (e.g., pure
#FFFFFFfor Amazon or uniform light gray#F4F4F5for DTC stores). - Wrinkle & Dust Cleanup: Spot-heal remaining micro-lint or transit fold creases.
- Crop Ratio & Margins: Standardize all images to a uniform aspect ratio (1:1 square for catalog grids or 4:5 / 3:4 portrait for mobile feeds).
Quality-Control Test: Place your physical sample garment directly next to your calibrated monitor displaying the edited photo. If a customer could reasonably receive the order and feel the color or fabric texture is noticeably different, dial back your edits.
10. Common mistakes to avoid
Avoid these seven common apparel photography pitfalls that hurt conversion rates and elevate product return rates:
- Harsh direct flash or mixed lighting: Blending warm tungsten room bulbs with cool window daylight creates muddy, impossible-to-correct color casts.
- Shooting wrinkled garments: Photoshop retouching wrinkles takes ten times longer than steaming the garment on set.
- Shifting camera height between products: Changing tripod angles makes your collection look disorganized when viewed as a thumbnail grid.
- Over-saturating colors: Boosting vibrance in post-production leads to customer returns when the delivered shirt looks duller than the website image.
- Showing only one angle: A single hero photo leaves questions about the back, pockets, and texture unanswered.
- Distracting background clutter: Heavy props, busy floors, and wrinkled studio sheets draw attention away from the clothing.
- Prioritizing artistic styling over product clarity: Unconventional poses that obscure sleeves, waistbands, or necklines confuse buyers.
11. Traditional photography vs. AI-assisted photography
Traditional photoshoots remain indispensable for high-concept seasonal advertising campaigns, custom runway styling, and on-location celebrity shoots. However, for everyday ecommerce catalog production, colorway updates, and high-volume SKU launches, physical shoots create severe cost and turnaround bottlenecks.
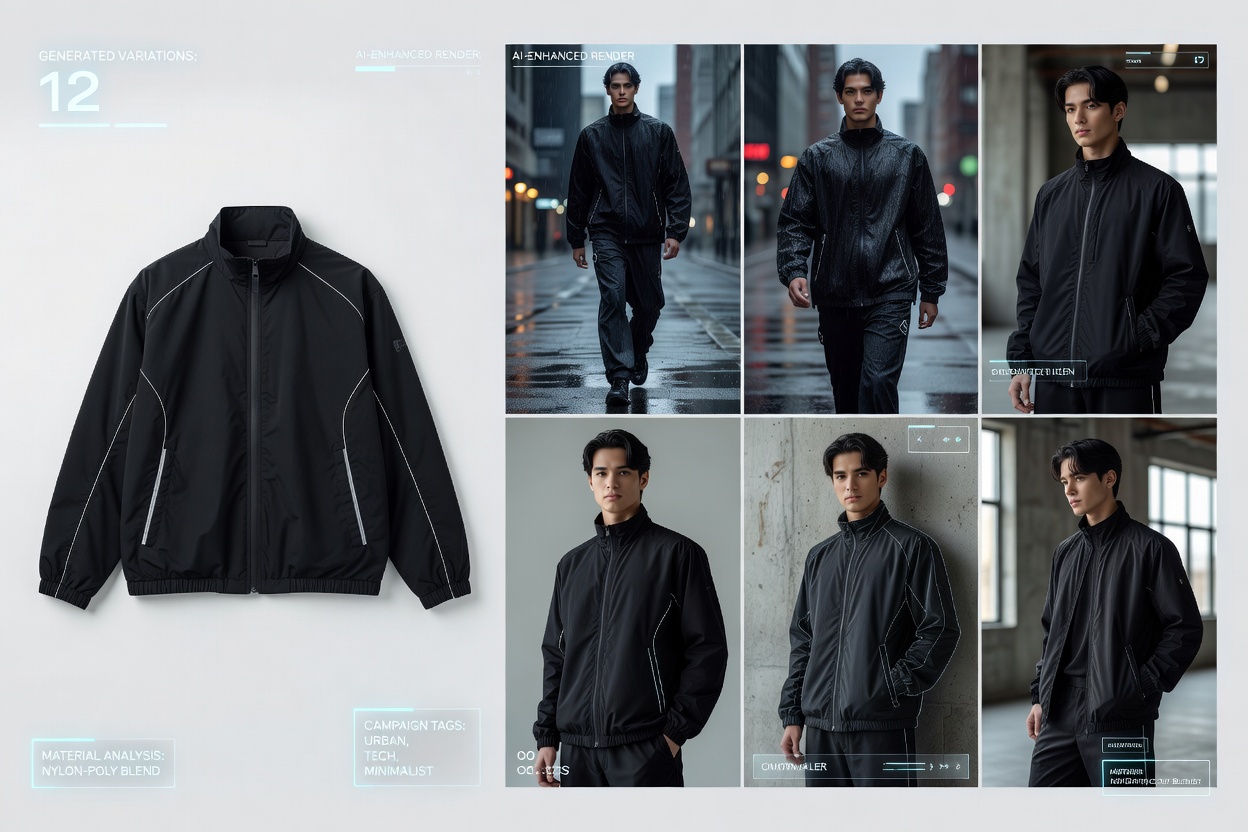 AI-assisted clothing product photography workflow
| Production Factor | Traditional Studio Shoot | AI-Assisted Workflow (Shotinger Apparel Studio) |
|---|---|---|
| Studio & set build | Required for every shoot ($500–$2,500/day) | Replaced with digital studio backdrops & scenes |
| Model casting & fees | $150–$400/hour plus agency buyout fees | 120+ AI models included (Apparel Lifestyle) |
| Turnaround time | 2 to 4 weeks (booking, shooting, retouching) | Under 60 seconds per render |
| Cost per final look | $80 to $250 per SKU | Under $1.00 per visual (See Pricing) |
| New colorway additions | Requires rebooking models & rebuilding the set | Upload new flat lay and apply the saved model profile |
| Creative flexibility | Fixed to the physical set built on shoot day | Switch from white studio catalog to 40+ lifestyle scenes |
AI-assisted production allows brands to upload a single flat lay or ghost mannequin image and generate consistent, on-model studio and lifestyle imagery across multiple demographics and poses without repeating physical production days.
12. A scalable workflow for ecommerce brands
To scale clothing photography efficiently across seasonal collections and hundreds of SKUs, implement this standard operating procedure:
- Establish a category style guide: Document fixed background hex codes, lighting ratios, camera angles, and model demographics for each category (Tops, Bottoms, Outerwear).
- Standardize mandatory image sets: Require a minimum of 4 views per SKU: (1) Front Hero, (2) Back View, (3) Fabric/Detail Macro, (4) On-Model or Lifestyle Fit Shot.
- Capture physical source assets in batches: Steam and photograph all physical garments under identical lighting in one focused session.
- Generate on-model variations with AI: Import source images into Shotinger Apparel Studio to produce diverse on-model catalog and campaign imagery.
- Enforce output quality control: Verify that logos, seamlines, button counts, and fabric textures match the physical product 100%.
- Export channel-optimized assets: Export square 2048x2048px assets for Shopify/Amazon and 4:5 portrait formats for Meta & TikTok ads.
13. Frequently asked questions
What is the best way to photograph clothes to sell online?
The best approach combines clean garment preparation (steaming and lint-rolling), a soft diffused light source, a neutral background, and consistent framing. Use flat lay or ghost mannequin photography for technical clarity, paired with on-model visuals to communicate fit and drape.
Can I photograph clothes with a phone?
Yes. Modern smartphones equipped with multiple lenses (2x or 3x telephoto modes) produce excellent commercial results when lighting, tripod stabilization, exposure lock, and framing are properly controlled. Avoid using wide-angle 1x lenses up close, which cause barrel distortion.
What background should I use for clothing product photos?
A seamless white (#FFFFFF) or neutral light gray (#F4F4F5) backdrop is the safest choice for ecommerce catalogs, marketplaces like Amazon, and Shopify stores because it keeps complete focus on the garment and prevents color reflections.
Is flat lay better than ghost mannequin photography?
Flat lay is simpler, faster, and cheaper to execute for basic tees, knitwear, and pants. Ghost mannequin photography provides superior 3D structural presentation for tailored blazers, jackets, and structured shirts. Many brands use flat lays for catalog grids and ghost mannequin or on-model shots in gallery details.
Can AI create clothing product photos?
Yes. AI tools like Shotinger Apparel Studio and Apparel Lifestyle can take a single flat lay or mannequin photo and generate studio-grade on-model imagery across diverse models, poses, and lifestyle scenes while preserving garment texture and details.
How can I create clothing photos without a studio?
You can shoot garments flat near a large window with diffused daylight, use a clean white poster board as a background, and enhance or transform your shots into studio and on-model catalog assets using Shotinger AI tools.
14. Final checklist: ecommerce apparel photography
Before publishing your product images, review this quality assurance checklist:
- Garment thoroughly steamed with zero packaging creases
- All lint, dust, and stray threads removed
- Background clean, neutral, and consistent with catalog standards
- Lighting soft, diffused, and free of harsh glare
- Camera angle, height, and focal length fixed across the SKU batch
- White balance calibrated to reflect true garment color
- Primary hero shot shows the complete garment with clean margins
- Secondary views highlight fabric texture, construction, and back view
- Post-production edits do not alter the real physical color or material
- Images exported in high resolution for mobile and desktop viewing
Create professional apparel photography at ecommerce scale
Shotinger helps apparel brands, fashion retailers, and marketplace sellers transform basic garment photos into studio, lifestyle, and on-model visual campaigns in seconds.
Scale your apparel visual production, reduce shoot overhead, and keep your catalog cohesive across every drop.
Start creating campaign-ready product visuals
Transform flat lays, packshots, and jewelry photos into photorealistic on-model imagery in under 60 seconds.