Quick Answer: You do not automatically need a macro lens to create sharp, high-converting jewelry product photos. For most online sellers, a stable camera support, soft diffused lighting, clean jewelry, and careful manual focus will improve image quality and sales far more than investing in expensive camera gear.
Jewelry is small, reflective, and packed with delicate craftsmanship. That combination is what makes fine pieces beautiful in person—and notoriously frustrating to photograph for an online store.
A gold ring can look flawless on your desk, yet appear blurry or distorted on screen. A polished earring can turn into a constellation of harsh white glare, while a subtle gemstone facet almost disappears entirely.
Faced with these challenges, many founders assume their first step must be buying an expensive dedicated macro lens. While macro lenses have their place for extreme close-up engraving, they are rarely the bottleneck for a growing e-commerce store.
Before buying new equipment, start with a simpler question: What does my customer actually need to see?
Usually, the answer is straightforward: the design, the true metal finish, key stone settings, the approximate physical scale, and what the piece looks like when worn.
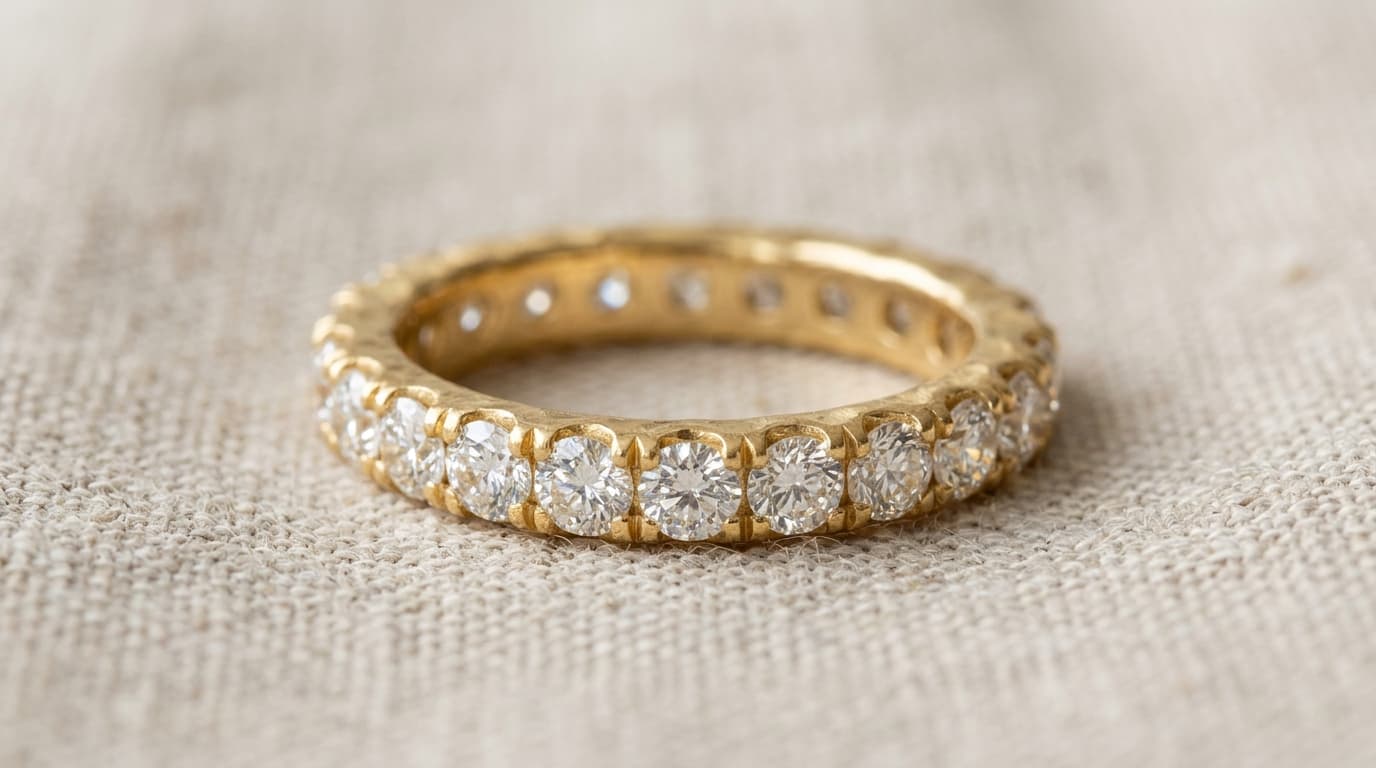
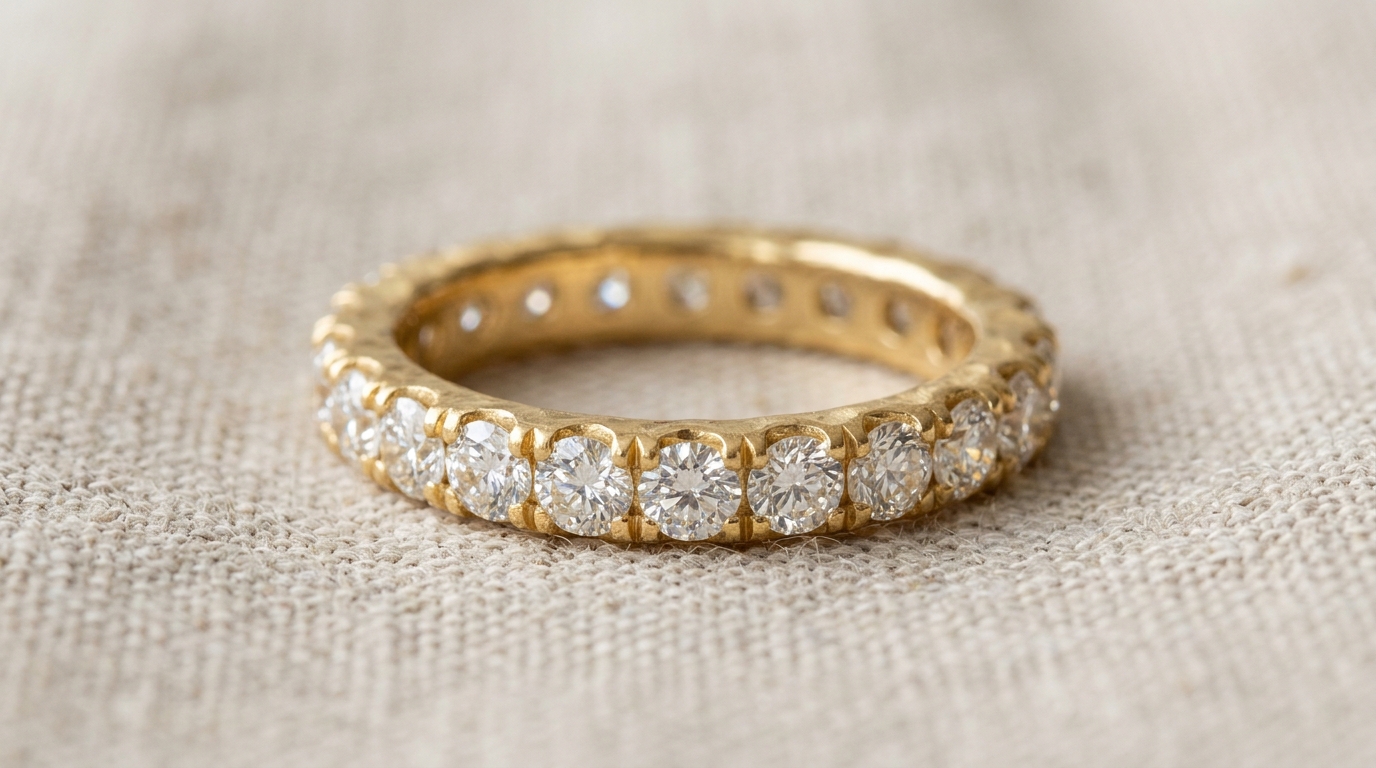 Close-up gold and diamond jewelry photographed in soft light
Do you really need a macro lens for jewelry photography?
For high-end specialist diamond graders, yes. For most e-commerce jewelry sellers, no.
A macro lens is engineered specifically for extreme 1:1 close-up magnification. It becomes useful when you need to reveal microscopic hallmarks, pavé prongs, or custom inner-band engravings that would otherwise be invisible in a standard shot.
However, an expensive lens cannot fix a dirty product, harsh lighting, or a shaky hand:
- If a ring is covered in oily fingerprints, a macro lens simply magnifies the fingerprints.
- If your lighting is a bare desk lamp, a macro lens captures harsher specular reflections.
- If your camera is handheld, close-up camera shake softens the image regardless of lens quality.
The smarter approach is to master the fundamentals first: stability, soft diffused illumination, and clean product preparation. Think of a macro lens as an optional late-stage upgrade, not a starting requirement.
What you need to get started
You do not need a darkroom, commercial strobes, or complicated studio rigs. A clean, repeatable tabletop setup requires only six accessible items:
| Essential Tool | Recommended Setup | Purpose |
|---|---|---|
| Camera or Smartphone | Modern smartphone (iPhone, Galaxy, Pixel) or standard kit lens | High-resolution sensor with 2x optical zoom |
| Stable Support | Tabletop mini tripod or desktop clamp | Eliminates micro-shake and keeps catalog framing uniform |
| Soft Light Source | Bright window diffused with sheer white curtains | Wraps soft highlights around polished metal contours |
| Neutral Surface | White marble tile, matte acrylic, or ceramic stone slab | Keeps visual attention strictly on the jewelry |
| Microfiber Cloth | Optical-grade lint-free cloth | Wipes away dust, oils, and fingerprints before every shot |
| White Bounce Card | Foam core board or clean white cardstock | Fills in dark shadows on the opposite side of your light |
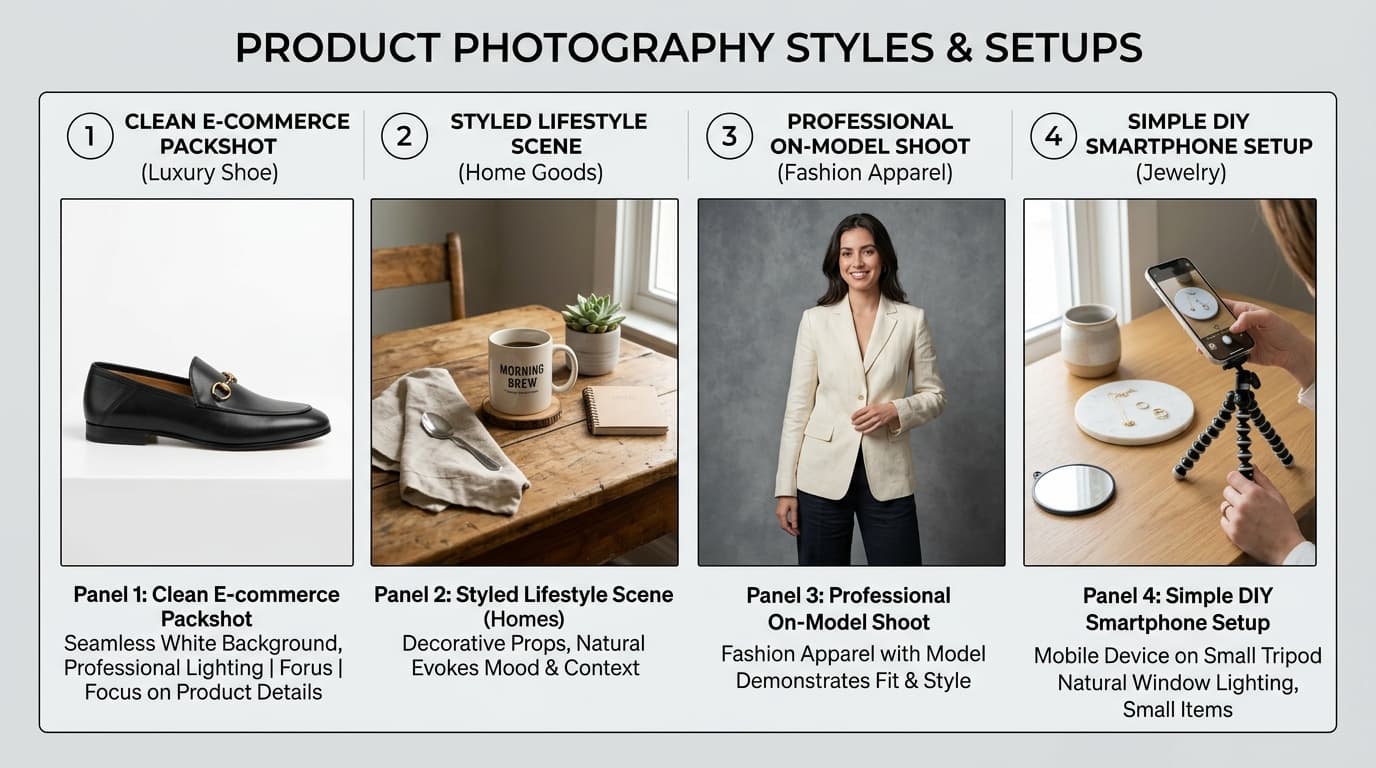
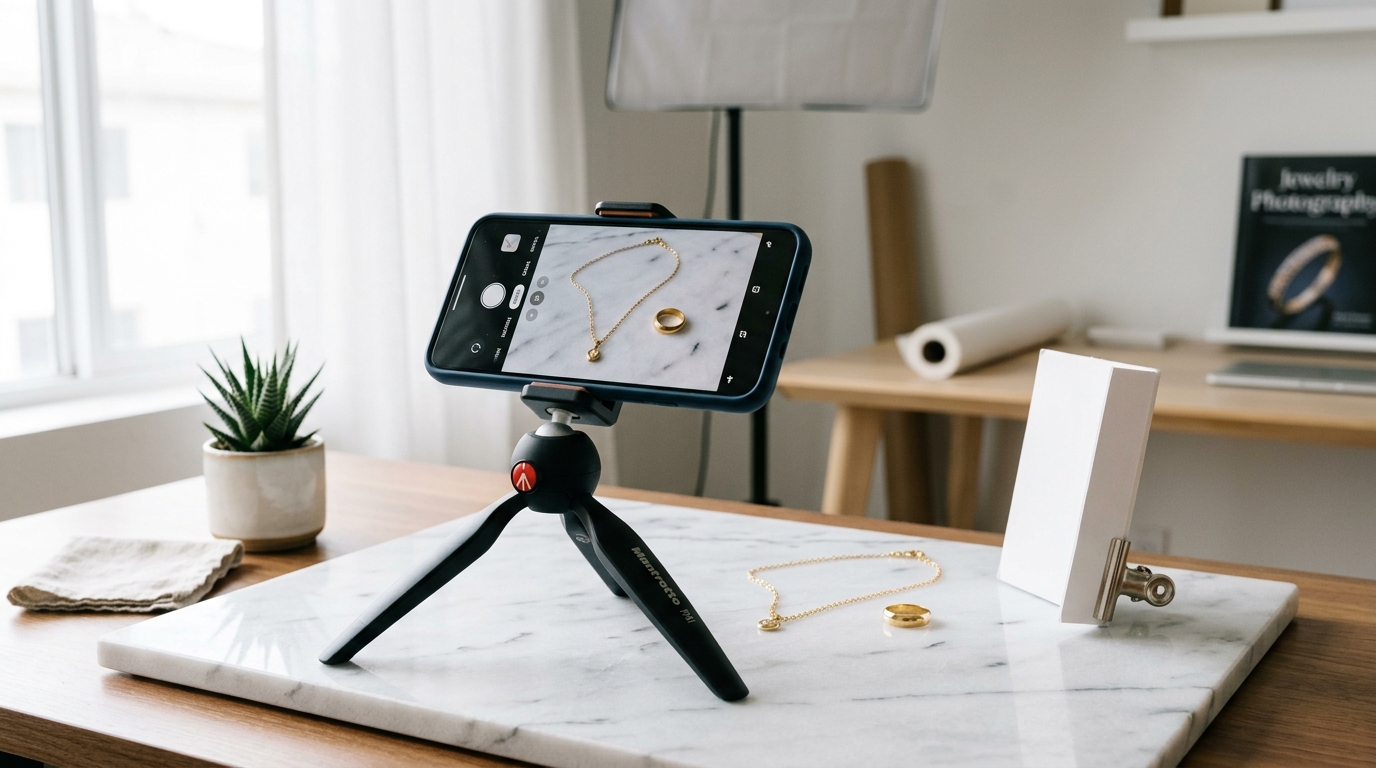 Smartphone on a small tripod photographing jewelry on a light marble surface
Why stability matters so much
Close-up jewelry photography magnifies the tiniest physical vibrations. Holding your smartphone or camera in your hand introduces micro-tremors that soften fine gemstone facets and metal edges.
Mounting your camera to a sturdy mini tripod accomplishes two critical goals:
- Tack-sharp focus: Allows your camera sensor to capture maximum detail without motion blur, even in lower ambient light.
- Catalog consistency: Locks your viewing angle, focal distance, and product placement so every SKU across a collection page shares a uniform presentation.
How to photograph jewelry without a macro lens: step-by-step
Follow this 7-step sequence to produce clean, commercial-grade jewelry photos with any standard camera or phone:
1. Clean the jewelry thoroughly
Inspect the piece under bright light with a magnifying glass or loupe. Wipe away all fingerprints, lint, and smudges with a microfiber cloth. Wear cotton gloves or hold the piece by its inner band to prevent re-contaminating the surface.
2. Lock your camera on a stable support
Position your mini tripod approximately 12 to 18 inches away from the product. If using a smartphone, switch to the 2x or 3x optical telephoto lens rather than moving the phone physically closer. This avoids wide-angle barrel distortion and keeps straight lines true.
3. Position the jewelry in soft, diffused light
Set your table 3 to 5 feet away from a large window. Never shoot under direct, unshaded sunlight. If the light creates harsh white glare on gold or silver, diffuse it with sheer white curtains, a pop-up scrim, or a sheet of tracing paper.
4. Find the angle that highlights the silhouette
Instead of constantly readjusting your camera tripod, rotate the jewelry piece itself on your surface. A subtle 15-degree turn often reveals stone depth, catches light along the metal bevel, and eliminates distracting room reflections.
5. Lock manual focus on the hero detail
Tap your smartphone screen or manually set your camera focus point on the primary focal feature:
- For rings: the center stone or front bezel setting.
- For necklaces: the central pendant or focal gemstone.
- For earrings: the front facing motif or drop cluster.
6. Capture a balanced set of views
Avoid taking hundreds of random snapshots. Capture a deliberate 4-shot series: one front hero shot, one 45-degree three-quarter view, one side profile (showing band thickness), and one on-model scale reference.
7. Calibrate true metal colors
Ensure white balance is neutral (5500K daylight). Yellow gold should look rich and warm—not neon yellow or brassy. White gold and 925 sterling silver should look crisp and clean—never blue or dull grey.
The biggest beginner mistake: too much direct light
When beginners struggle with dark or grainy photos, their natural instinct is to add more light. In jewelry photography, adding direct, unshielded light creates disastrous results.
Because polished gold, silver, and platinum act as miniature curved mirrors, small point-source lights (like bare desk bulbs or smartphone flash) produce intense hot spots that blind the camera sensor and blow out surface textures.
A larger, softer light source placed close to the jewelry creates smooth, continuous highlight gradients that accentuate curvature and craftsmanship without harsh glare.
Macro lens vs. smartphone: which one should you choose?
Understanding the practical differences helps you decide when to upgrade:
| Feature | Dedicated Macro Lens (DSLR/Mirrorless) | Modern Smartphone Setup |
|---|---|---|
| Best For | Ultra-fine gemstone facets, pavé inspection, macro hallmarks | Fast e-commerce catalog production, social content, Shopify |
| Startup Cost | $600 – $1,800 (camera body + 100mm macro lens) | $0 (using your existing smartphone + $20 tripod) |
| Learning Curve | High (manual exposure, aperture control, focus stacking) | Low (intuitive tap-to-focus, automatic HDR processing) |
| Production Speed | 10–20 SKUs / day (including RAW post-processing) | 40–80 SKUs / day (direct export ready for web) |
| Depth of Field | Very shallow (requires multiple stacked exposures) | Balanced depth of field across the entire piece |
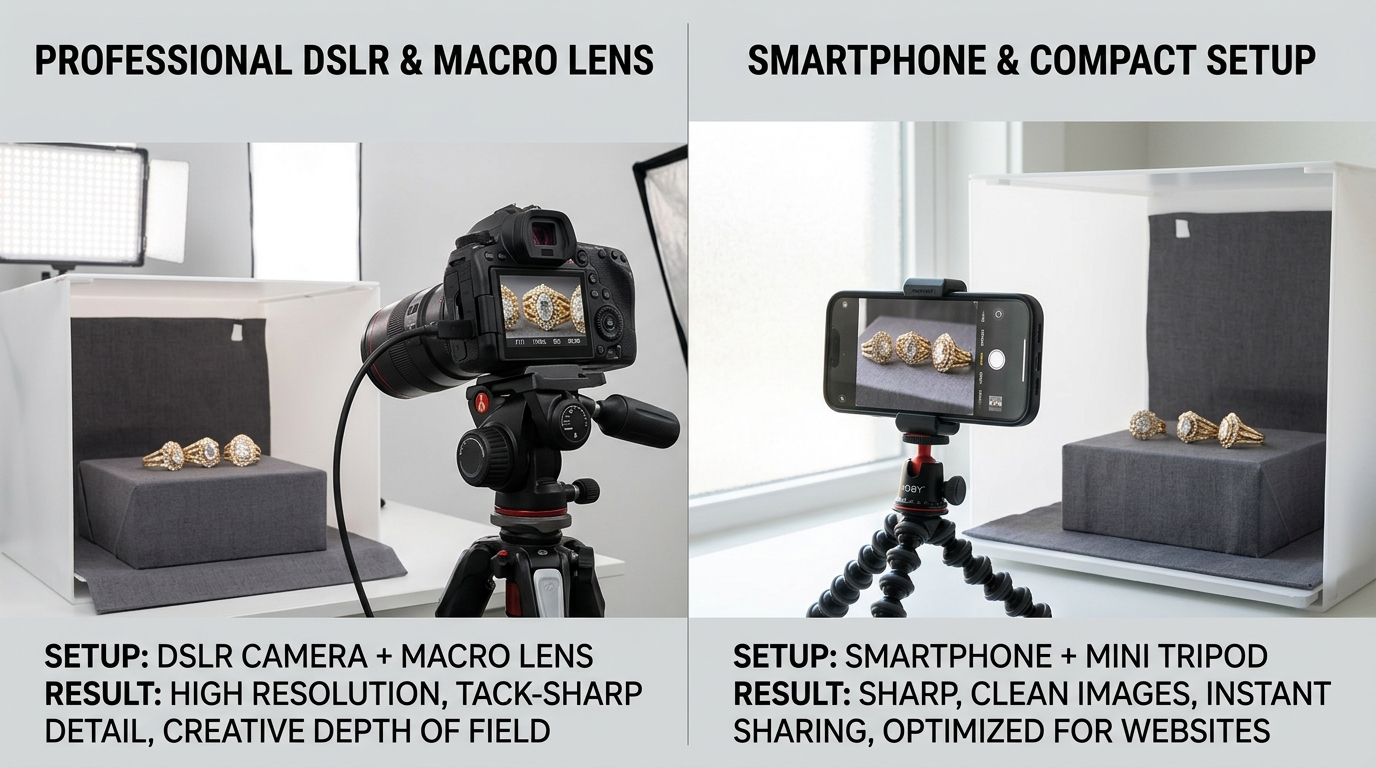 Smartphone and camera on tripods comparing jewelry product photography setups
How to build a complete jewelry product gallery
A high-converting product page does not rely on a single heroic shot. Each image in your gallery should answer a distinct customer question:
- Primary Packshot: What does the entire piece look like? (Isolated, front-facing, clean neutral background).
- Macro Detail Shot: What does the craftsmanship, stone setting, or engraving look like up close?
- Profile / Depth Angle: How thick is the band? How high does the gemstone sit off the finger?
- On-Model Placement: How large does the piece look when worn on a real ear, neck, or hand?
- Contextual Lifestyle: How does the piece look styled in an everyday or evening setting?
Why on-model jewelry photos matter for scale
One of the hardest hurdles in online jewelry merchandising is communicating scale.
A written specification stating "Earring diameter: 22 mm" or "Pendant drop: 35 mm" requires mental calculation that many shoppers struggle to translate into real life.
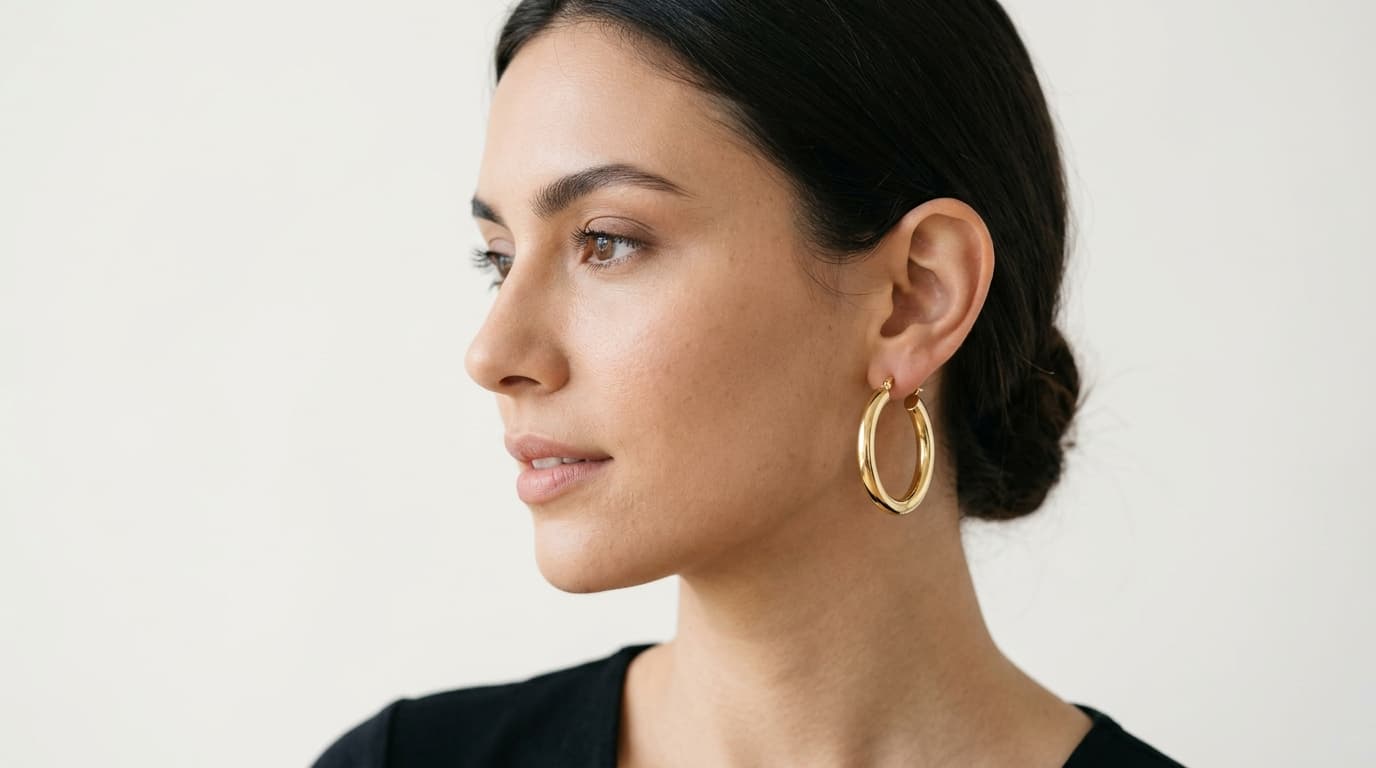
An on-model photo solves this instantly. Placing the jewelry on a human ear, wrist, or hand creates an intuitive, familiar visual ruler that eliminates sizing hesitation and reduces return rates.
For a comprehensive guide on framing and angles for worn jewelry, read our Earrings on Models Guide.
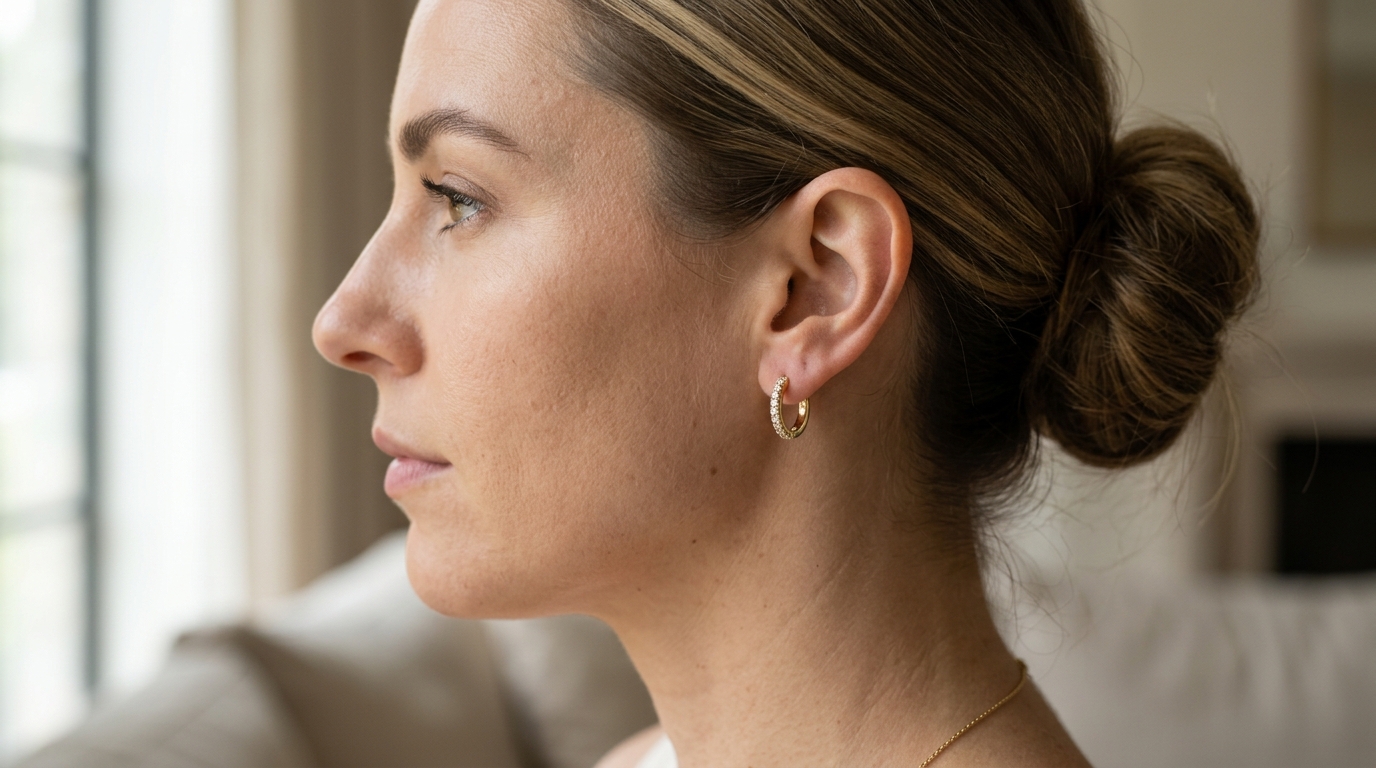 Close-up portrait of a woman wearing a gold hoop earring to show scale and placement
How AI can extend your jewelry photography workflow
Taking high-quality product packshots for 10 items is straightforward. Producing complete 5-image galleries (including diverse on-model and editorial lifestyle scenes) for hundreds of SKUs can strain any production budget.
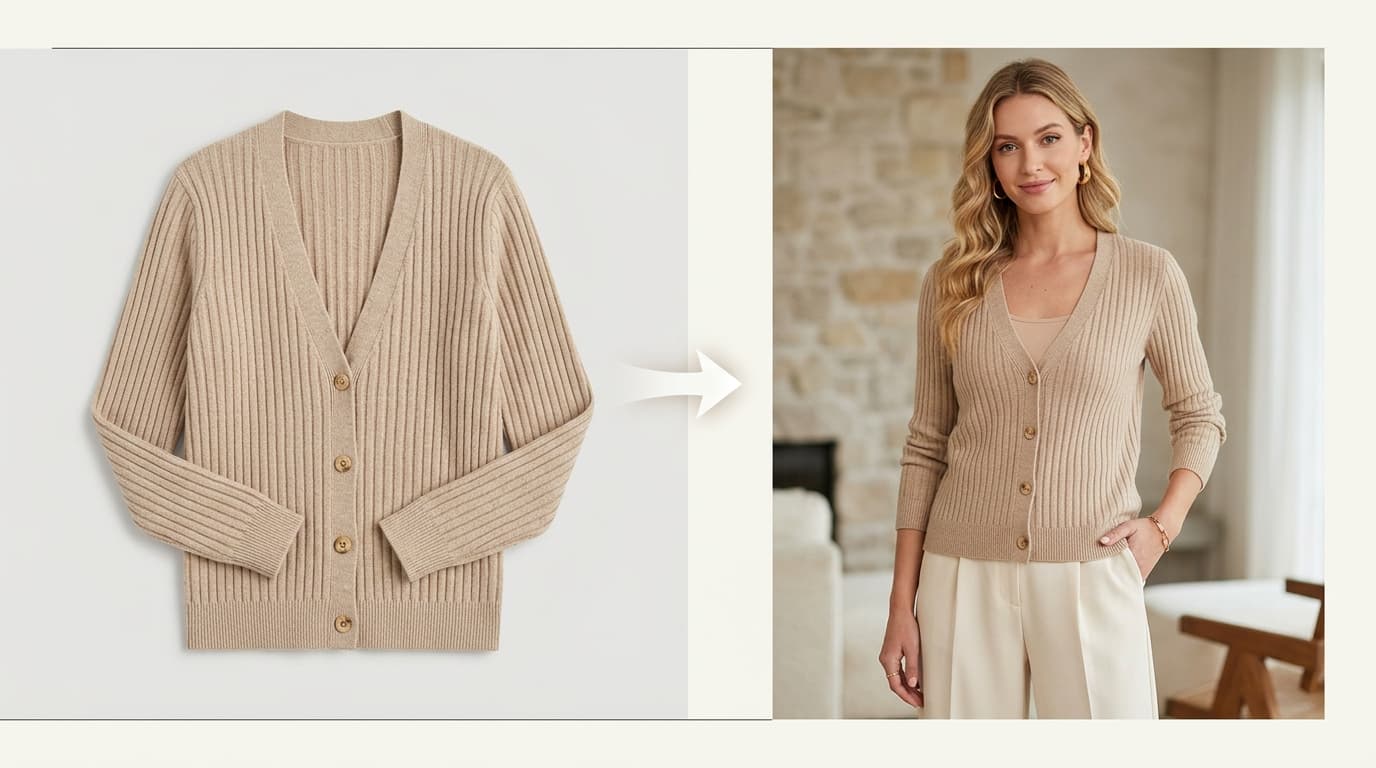
With Shotinger Jewelry & Accessories AI, you can take a single sharp product packshot and immediately generate:
- Photorealistic on-model imagery placed on hands, ears, wrists, or necklines across diverse skin tones.
- Over 20+ studio and lifestyle scenes without booking models or location sets.
- Multi-angle catalog assets that preserve exact gemstone counts, prong details, and precious metal hues.
You can also expand into general product merchandising with AI Product Studio, create fashion catalog assets with Apparel Lifestyle, or consult our comprehensive Clothing Photography Guide.
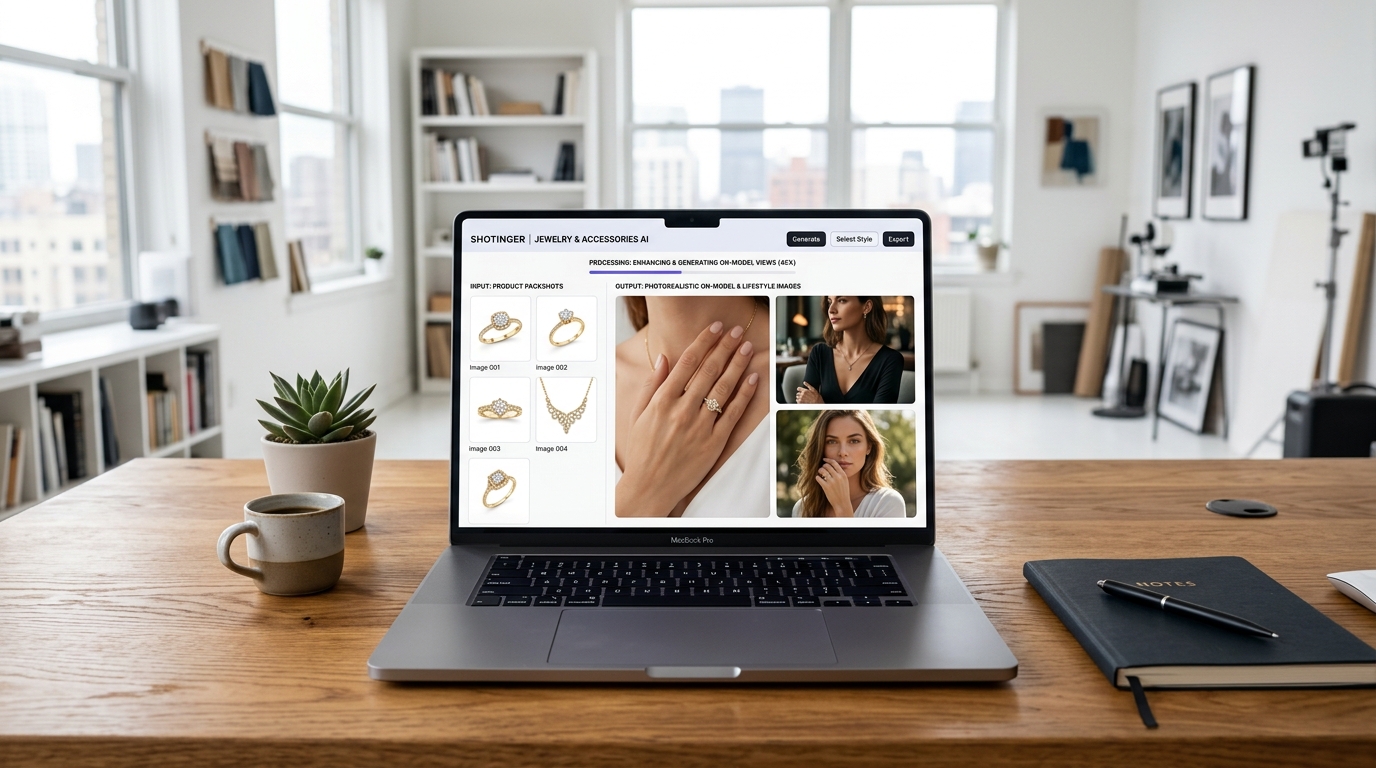 Laptop showing jewelry product and on-model visuals in an AI-assisted e-commerce workflow
When should you actually buy a macro lens?
- Buy one when: Your catalog consists primarily of high-carat certified gemstones, microscopic pavé clusters, or intricate hand-engraved filigree where extreme magnification is your primary selling point.
- Wait when: Your current photos suffer from camera shake, harsh lighting reflections, oily fingerprints, or inconsistent color temperatures. Fixing these basic variables will instantly transform your photos.
- Test first: Check your product images at the actual size shoppers view them on mobile screens. If the design and finish are clear, your current setup is already working.
Common jewelry photography mistakes to avoid
- Direct camera flash: Creates blinding white glare and turns precious metals into flat, chrome-like cutouts.
- Handheld shooting: Introduces micro-blur on fine gemstone facets.
- Skipping product cleaning: Dust specks and fingerprints become magnified on high-resolution displays.
- Over-filtering and heavy HDR: Distorts authentic metal hues and makes gemstones look artificial.
- Unchecked AI alterations: Always verify that AI-generated on-model assets faithfully match the original stone count and prong settings.
Frequently asked questions
Do I need a macro lens for jewelry photography?
No. While useful for extreme close-up work, most e-commerce sellers can produce sharp, commercial-quality jewelry images using a smartphone or standard camera paired with a mini tripod and diffused window light.
Can I photograph jewelry with a smartphone?
Yes. Modern smartphones feature high-resolution sensors and telephoto lenses capable of capturing fine jewelry details when camera stability and lighting are properly controlled.
How do I get sharper jewelry photos without a macro lens?
Use a mini tripod to eliminate camera shake, switch to your phone's 2x or 3x optical zoom lens, tap to lock manual focus on the center stone, and shoot in bright, diffused light.
What is the best background for jewelry photography?
Neutral, non-reflective surfaces like white marble stone, light grey slate, cream matte acrylic, or fine textured linen keep customer focus locked on the jewelry piece.
Should I show jewelry on a model?
Yes. On-model imagery provides an essential real-world reference for scale, placement, and proportions that standalone packshots cannot communicate alone.
Can AI replace a macro lens?
AI workflows like Shotinger Jewelry & Accessories can transform clean source packshots into diverse on-model and lifestyle visuals, reducing the need for specialized macro photo shoots.
Final jewelry photography checklist
- Jewelry is cleaned with a microfiber cloth and free of dust or fingerprints
- Camera/smartphone is firmly mounted on a tripod
- Lighting is soft, diffused, and free of harsh glare hotspots
- Optical 2x/3x zoom is used instead of digital crop
- Focus is locked precisely on the center gemstone or front motif
- Metal colors and gemstone hues are calibrated to match physical daylight
- Product is photographed from multiple informative angles
- An on-model reference is included to clarify scale
- Images meet the resolution and background guidelines of your sales channel
Ready to scale your jewelry photography?
Create professional product close-ups and photorealistic on-model jewelry visuals in seconds with Shotinger.
Explore Shotinger Jewelry & Accessories →
Start creating campaign-ready product visuals
Transform flat lays, packshots, and jewelry photos into photorealistic on-model imagery in under 60 seconds.