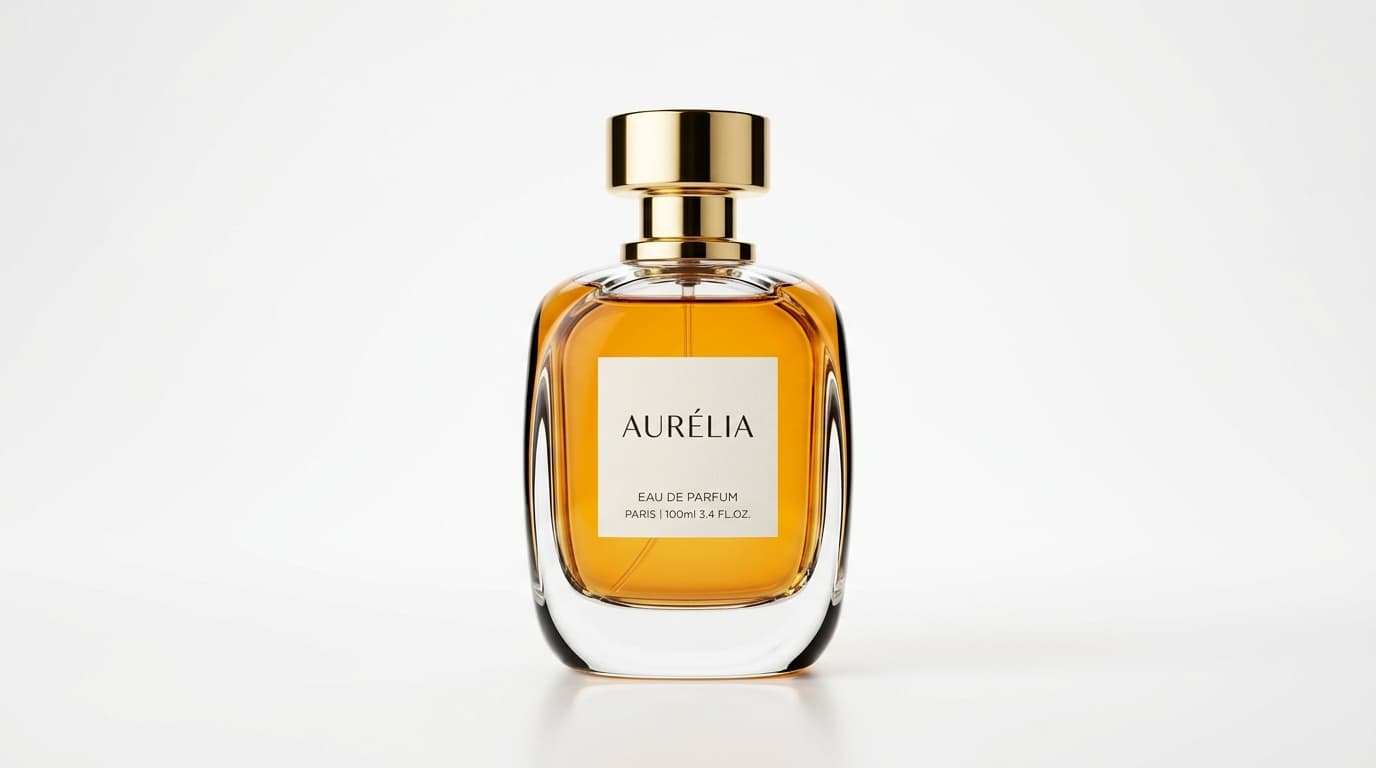
The Fragrance Photography Rule: Perfume is one of the most technically demanding subjects in commercial photography. A single bottle combines transparent glass, reflective metallic hardware, colored liquid, and embossed typography. Success does not come from chasing a lucky shot—it comes from building a repeatable system that controls reflections, separates edges, and preserves brand identity across your entire collection.
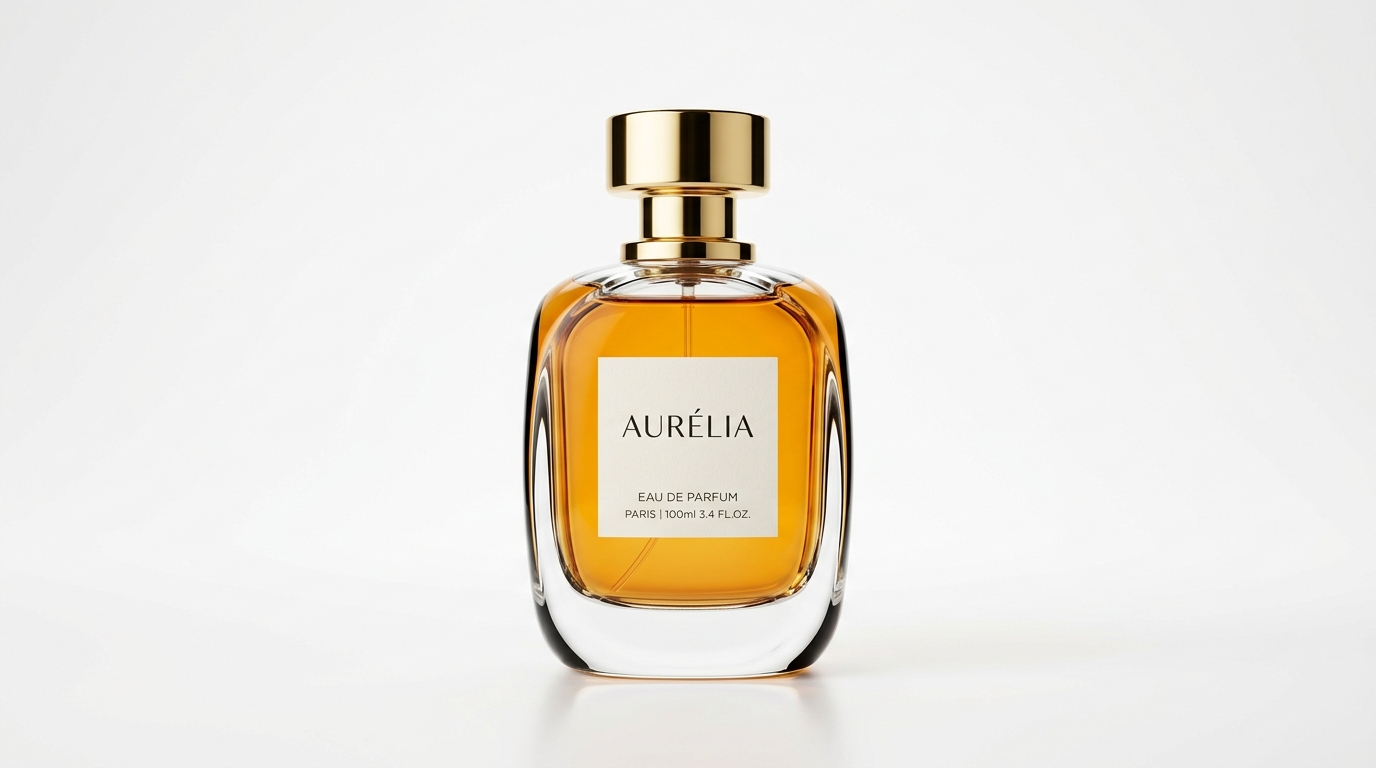 Luxury perfume bottle product photography on a clean seamless white background with controlled glass edge reflections
Perfume is difficult to photograph because the product combines several challenging visual elements in a single object: transparent glass, reflective caps, colored liquid, printed labels, and sometimes intricate outer packaging.
For an ecommerce brand, getting one attractive photograph is only part of the job. A high-converting product page needs images that help customers understand the bottle dimensions, recognize the fragrance line, inspect fine craftsmanship details, and imagine the product within the brand's aesthetic universe.
Effective perfume product photography starts with a repeatable image system, not a single perfect shot. By planning the lighting, background, camera position, and shot list in advance, you can produce a more consistent collection of product images while spending far less time correcting individual photographs in post-production.
This guide explains how to photograph different types of perfume bottles, solve common lighting and reflection challenges, and build a complete visual library for ecommerce.
What Makes Perfume Bottle Photography So Challenging?
Before choosing equipment or a background, identify the visual problems specific to fragrance packaging:
1. Transparent Glass Needs Controlled Reflections
Glass does not behave like a matte surface. It reflects its surroundings while allowing ambient light to pass completely through it. An unshielded perfume bottle will reflect every window, ceiling light, tripod leg, and room object within line of sight.
The solution is not to eliminate every reflection. Without reflections, a transparent glass bottle appears completely flat and loses its three-dimensional curvature. The goal is to introduce controlled, intentional reflections that define the bottle's silhouettes without obscuring the label or liquid.
2. The Cap and Bottle Require Different Lighting
A perfume bottle frequently combines thick soda-lime glass with a mirror-polished gold cap, brushed aluminum collar, or high-gloss black lacquer top.
A broad, diffused softbox that creates a soft gradient across the glass body may create a blinding, blown-out glare on a polished metal cap. Each material zone must be balanced so the cap retains its metallic luster while the glass keeps its clean transparency.
3. Fragrance Liquid Color Must Remain Believable
The hue and clarity of the perfume liquid are central to the customer's sensory expectation—from pale citrus golds and smoky ambers to delicate rose florals.
If color shifts between photos due to mixed room lighting or aggressive post-production filters, customers may doubt whether they are looking at the same fragrance. Consistent 5500K daylight-balanced lighting and fixed manual white balance are essential.
4. The Brand Label Must Remain Crisp and Legible
A specular hotspot cutting directly across the fragrance name, brand mark, or concentration (Eau de Parfum) ruins an otherwise gorgeous photograph. Always inspect the label at 100% zoom to verify that typography is sharp, high-contrast, and glare-free.
Start with the Product, Not the Set
A common beginner mistake is designing an elaborate lifestyle set before understanding what the physical bottle requires. Examine the bottle construction and refer to this tactical breakdown:
| Bottle Characteristic | Primary Photographic Challenge | Recommended Studio Technique |
|---|---|---|
| Clear Transparent Glass | Weakly defined outer edges dissolving into background | Position vertical black cards (flags) on both sides to create dark rim contours |
| Dark or Amber Glass | Shadow areas lose internal liquid luminescence | Backlight the bottle with a small snoot or card to illuminate liquid from behind |
| Colored Fragrance Liquid | Inconsistent color rendering between catalog SKUs | Lock camera white balance manually; use high-CRI (95+) 5500K daylight LEDs |
| Polished Gold / Chrome Cap | Blown-out hotspots and camera reflections | Use large scrim diffusers and angle light slightly from above (feathering) |
| High-Gloss Black Lacquer | Harsh specular pinpoints and visible dust | Clean thoroughly with anti-static cloths; use broad, low-contrast gradient reflections |
| Faceted or Embossed Glass | Intricate relief details disappear under flat front light | Introduce directional side-grazing light to cast micro-shadows across geometric facets |
Set Up a Simple Perfume Photography Station
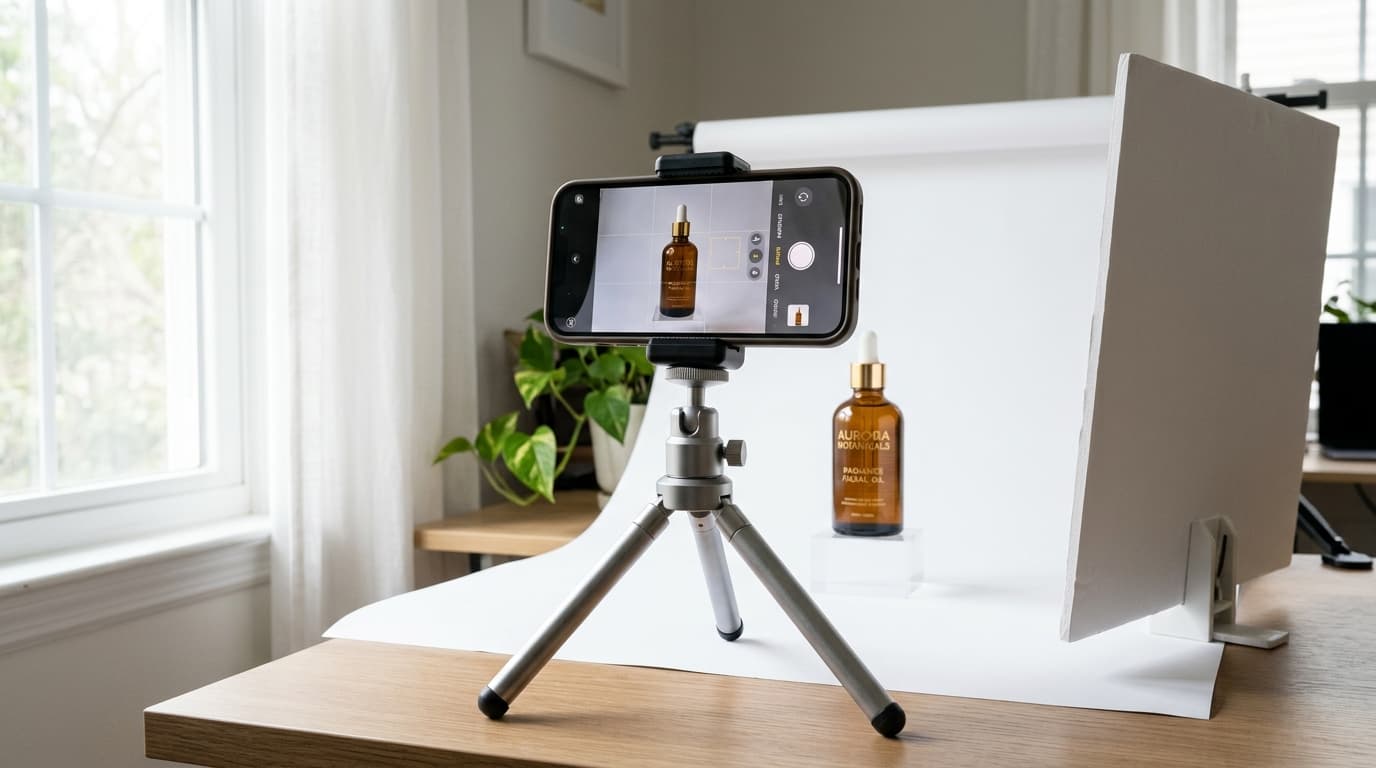
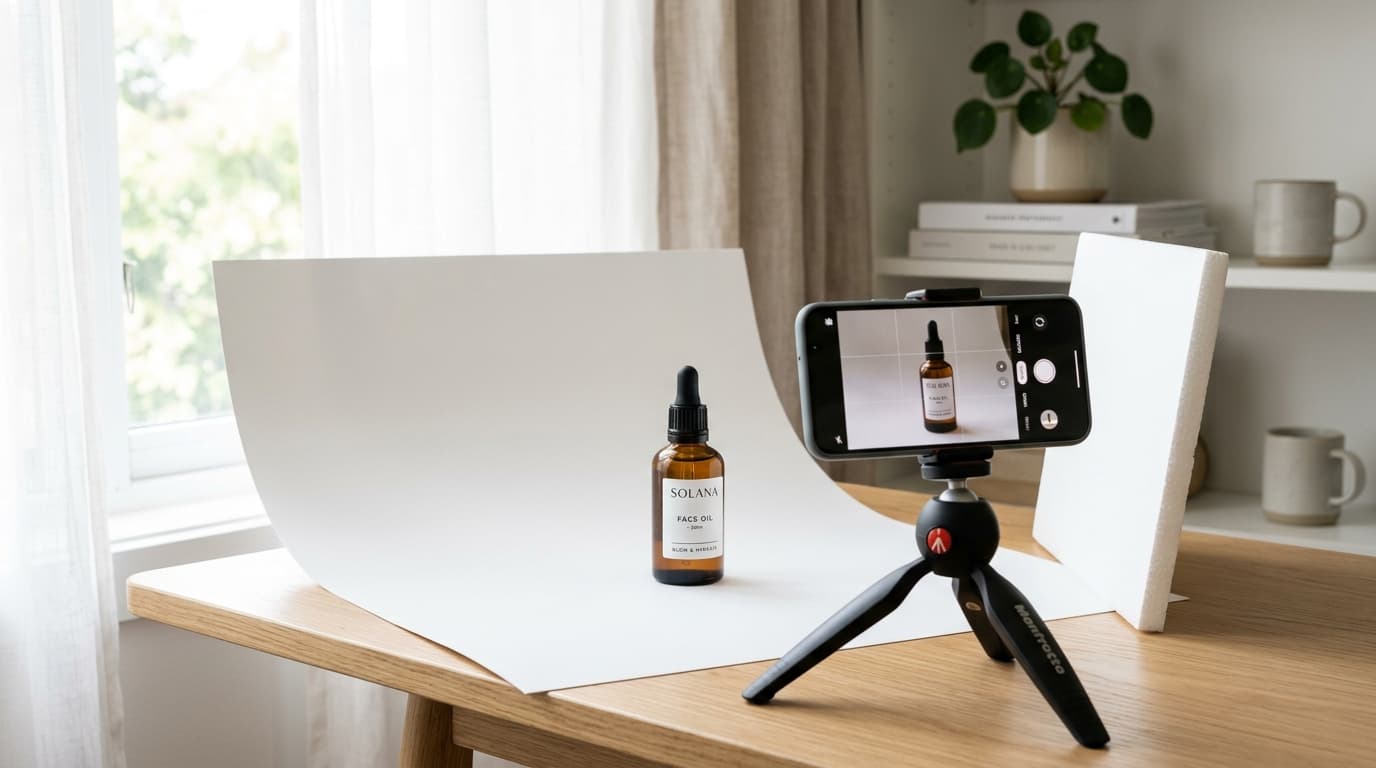
You do not need an expensive commercial photography studio. A dedicated, vibration-free tabletop setup with a few strategic reflection-control tools produces world-class results:
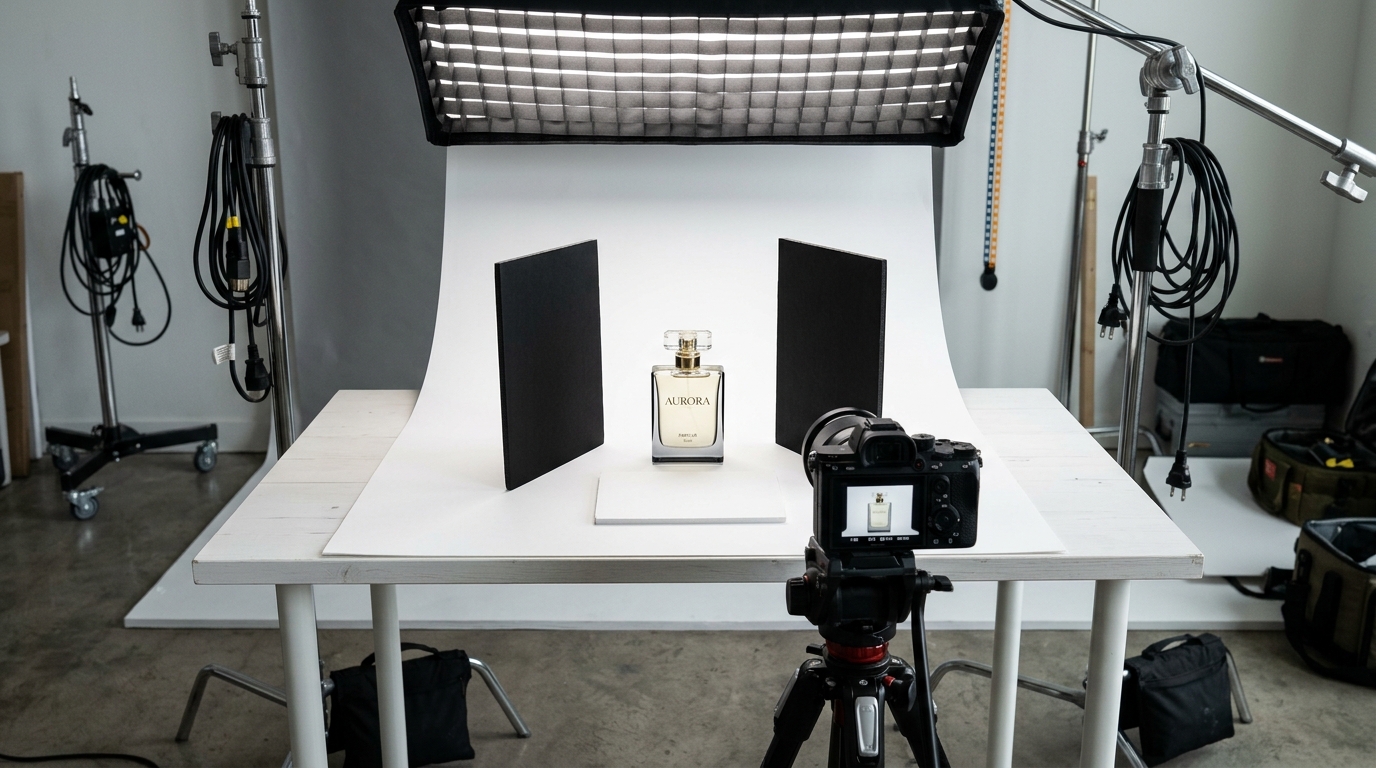 Behind-the-scenes perfume bottle photography studio setup with two black flags for glass edge definition and overhead softbox
The Essential Gear Checklist:
- A sturdy table: Positioned away from fluctuating drafts and direct window sunlight.
- A white seamless sweep: Heavy white matte cardstock or paper roll curved smoothly from vertical to horizontal.
- One large diffused key light: A continuous LED softbox (5500K daylight-balanced) with a front honeycomb grid to prevent light spill.
- Two vertical black foam core cards (flags): Placed parallel to the bottle just outside the camera frame to create crisp, dark contour lines along the glass edges.
- White foam reflector cards: Used in front or below the lens to bounce soft fill light into the label and cap.
- A solid tripod: Eliminates camera shake and locks identical framing across your entire fragrance catalog.
- Microfiber cloth & air blower: Eliminates dust flecks and fingerprints between exposures.
Keep the perimeter around the shooting table clear. Because curved glass behaves like a wide-angle mirror, removing colorful objects, open laptops, and bright clothing from the room prevents unwanted color tints from showing up in your packshots.
(For detailed lighting gear recommendations and modifier setups, consult our product photography lighting guide.)
How to Photograph Perfume Bottles Step by Step
Follow this disciplined 6-step sequence for clean, reproducible results:
Step 1: Clean and Align the Bottle Meticulously
Thoroughly clean the glass, atomizer, and cap using a clean microfiber cloth and an anti-static brush. Wear white cotton handling gloves to avoid leaving skin oil smudges.
Place the bottle on your sweep and verify alignment with your camera's electronic level or viewfinder grid. A bottle tilted just 1 or 2 degrees off-axis is immediately noticeable once centered on an ecommerce category page.
Step 2: Establish the Front-Facing Hero Frame First
Position your camera lens at the vertical midpoint of the bottle (often right at the shoulder line). Use a focal length between 85mm and 105mm (or 2x/3x optical telephoto on smartphones) to eliminate wide-angle barrel distortion.
Leave 15% to 20% breathable white space around the bottle to allow uniform 1:1 square or 4:5 vertical cropping across marketplace listings.
Step 3: Shape Reflections with Black & White Flags
Position your key softbox directly above or 45 degrees to the side. Look at the glass in live-view mode:
- If the bottle's edges disappear into the white background, place black cards vertically on both sides just outside the frame. The glass reflects the black boards, creating razor-sharp dark outline edges that define the bottle silhouette.
- If the label or front cap appears too dark, place a white card flat on the tabletop directly in front of the bottle (below camera view) to bounce clean fill light upward.
Step 4: Separate the Bottle from the Background Sweep
Clear glass bottles can easily melt into pure white backdrops. Rather than overexposing the scene, adjust the distance between the bottle and the rear backdrop sweep.
Keeping the bottle 18 to 24 inches forward of the background allows you to illuminate the background independently, achieving a crisp #FFFFFF white background without washing out the delicate glass edges of the fragrance container.
Step 5: Capture Macro Craftsmanship Details
Once the primary packshot is secured, move in for macro close-ups:
- Capture the brand label straight-on with maximum depth of field (f/8 to f/11) so every letter is razor-sharp.
- Capture the atomizer collar and spray nozzle to showcase precision finishing.
- Capture engraved glass signatures, weighted base glass, or magnetic cap closures.
Step 6: Verify Color Fidelity Across Fragrance SKUs
Before moving on to the next scent in your catalog, inspect the liquid color on a color-calibrated monitor. Ensure the white backdrop registers as neutral white (R:250-255, G:250-255, B:250-255) and the fragrance liquid matches the real-world formulation.
The Seven Images a Perfume Product Page Needs
A high-converting ecommerce fragrance listing requires a complete visual set that addresses both rational evaluation and emotional aspiration:
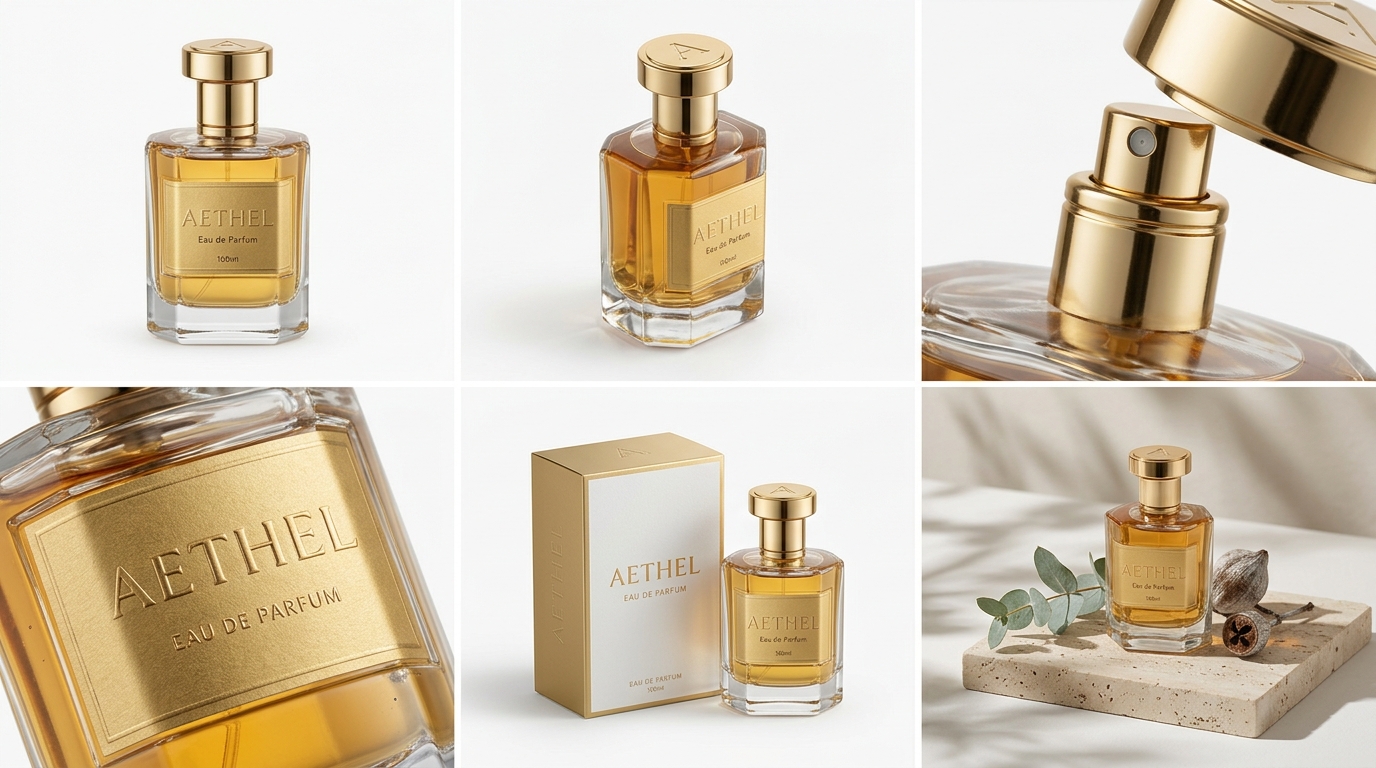 The 7-image perfume ecommerce photography system showing hero packshot, 3/4 depth, cap detail, embossed label, packaging box, and lifestyle scene
1. Front-Facing Hero Packshot
The anchor image for search results and catalog feeds. Features the bottle straight-on against pure white, displaying label typography and liquid color with total clarity.
2. Three-Quarter Dimensional View
Rotated 30 to 45 degrees toward the light. Reveals bottle thickness, shoulder curvature, cap facets, and the internal dip tube.
3. Macro Cap & Atomizer Detail
A close-up shot focusing on the metallic collar, pump nozzle, and cap interior. Signals manufacturing quality and luxury tactile feel.
4. Macro Label & Glass Texture Detail
Highlights embossed foil stamping, paper grain on luxury labels, or weighted glass thickness at the base of the bottle.
5. Bottle with Outer Retail Box
Shoppers want to see the complete packaging presentation, especially for gift purchases. Photograph the bottle standing proudly alongside its matching box.
6. Scale Reference / Hand-Held Shot
Shows real-world proportions (50ml vs. 100ml) in an elegant hand or beside everyday vanity essentials so customers immediately understand physical volume.
7. Editorial Lifestyle Campaign Scene
Communicates fragrance mood and scent notes (e.g., travertine stone, botanical leaves, warm sunset shadows) to evoke emotional connection.
Creating Atmospheric Lifestyle Imagery
While clean white-background packshots prove product specifications, lifestyle imagery translates intangible scents into visual moods:
Fresh, Citrus & Aquatic Scents
- Visual Palette: Cool whites, pale blues, crisp sea-glass greens, and bright morning daylight.
- Styling Elements: Water ripple caustics, wet slate stones, dewy botanical leaves, or clean acrylic plinths.
Warm, Woody & Oriental Fragrances
- Visual Palette: Deep espresso, warm sand, amber shadows, and rich terracotta tones.
- Styling Elements: Raw cedarwood blocks, smoked glass, linen textures, or architectural travertine pedestals.
Haute Parfumerie & Evening Scents
- Visual Palette: Moody chiaroscuro lighting, deep charcoals, and reflective black marble.
- Styling Elements: Minimalist negative space, soft silk draping, and dramatic rim highlights.
(Need to build your lifestyle sets on a smartphone? Read our complete walkthrough on Product Photography Using iPhone.)
Using AI to Extend Your Perfume Image Library
Capturing clean, authentic physical packshots is essential for baseline product accuracy. However, producing dozens of seasonal advertising visuals, social media creatives, and regional campaign backgrounds in physical studios can quickly exhaust a brand's production budget.
This is where a hybrid studio workflow delivers maximum ROI:
[ Physical Studio Capture ]
           ↓
[ Clean Hero Packshot on White with Perfect Glass Edges ]
           ↓
[ Inspect Label Typography, Cap Luster & Liquid Hue ]
           ↓
[ Ingest into AI Creative Studio Engine ]
           ↓
[ Generate 20+ Travertine, Marble & Botanical Lifestyle Scenes ]
With Shotinger Product Studio, fragrance brands can upload their clean physical packshot and instantly generate photorealistic editorial scenes—placing the bottle on sunlit travertine plinths, water-reflecting surfaces, or minimalist vanity tables while preserving 100% label geometry, cap textures, and authentic bottle silhouette.
Troubleshooting Common Perfume Photography Problems
| Problem | Root Cause | Solution |
|---|---|---|
| Glass bottle looks flat and featureless | Flat frontal lighting erasing edge definition | Place black foam core cards vertically on left and right sides to generate crisp dark contour lines. |
| Specular white glare obscures the label | Key light reflecting directly into the camera lens | Move key softbox 15 degrees higher or feather light away from the bottle face. |
| Clear glass vanishes into white background | Lack of edge contrast between glass and backdrop | Increase distance between bottle and background; angle black reflection cards closer to the bottle. |
| Cap looks dull or muddy | Reflecting a dark ceiling or dark studio walls | Place a white bounce card angled slightly above the bottle to cast a bright, clean highlight on the cap. |
| Liquid color looks inconsistent across catalog | Mixed ambient lighting (fluorescent ceiling lights + daylight) | Turn off all interior room bulbs; shoot exclusively under 5500K daylight-balanced continuous LEDs. |
| Dust specks cover the glass upon zooming | Static attraction on polished glass surfaces | Wipe with anti-static cloth immediately before capture; use compressed air blower between shots. |
Frequently Asked Questions
What is the best lens for perfume product photography?
A prime macro or short telephoto lens between 85mm and 105mm (full-frame equivalent) is ideal. It provides a comfortable working distance of 4 to 6 feet, prevents wide-angle distortion, and allows close-up macro focusing on labels and atomizer nozzles.
How do I photograph clear perfume liquid on a white background?
Use side or overhead backlighting to illuminate the liquid internally, and place vertical black cards along the sides of the bottle to create dark edge reflections. This ensures the clear glass silhouette stands out sharply against the pure white backdrop.
Can I photograph perfume bottles with a smartphone?
Yes. Modern smartphones produce sharp commercial packshots when mounted on a stable tripod. Lock AE/AF exposure, use the 2x or 3x telephoto optical camera to avoid barrel distortion, and shape glass reflections with black and white cards.
How many photos should a luxury perfume listing include?
A standard ecommerce perfume listing should include 6 to 8 photos: a front hero packshot, a 3/4 dimensional view, a cap and atomizer close-up, a label macro shot, a bottle with outer box shot, and at least one aspirational lifestyle scene.
Final Thoughts
Outstanding perfume product photography is built on disciplined reflection control and systematic consistency rather than expensive equipment.
By using black flags to carve crisp glass contours, balancing cap highlights with fill cards, preserving genuine fragrance liquid hue, and applying a standardized 7-image shot list, you can create a high-end visual catalog that builds customer trust and drives online fragrance sales.
Ready to turn your perfume packshots into luxury editorial campaigns?
Generate realistic lifestyle scenes, marble plinths, and atmospheric vanity settings from your clean bottle photos in seconds.
Explore Shotinger Product Studio →
Start creating campaign-ready product visuals
Transform flat lays, packshots, and jewelry photos into photorealistic on-model imagery in under 60 seconds.