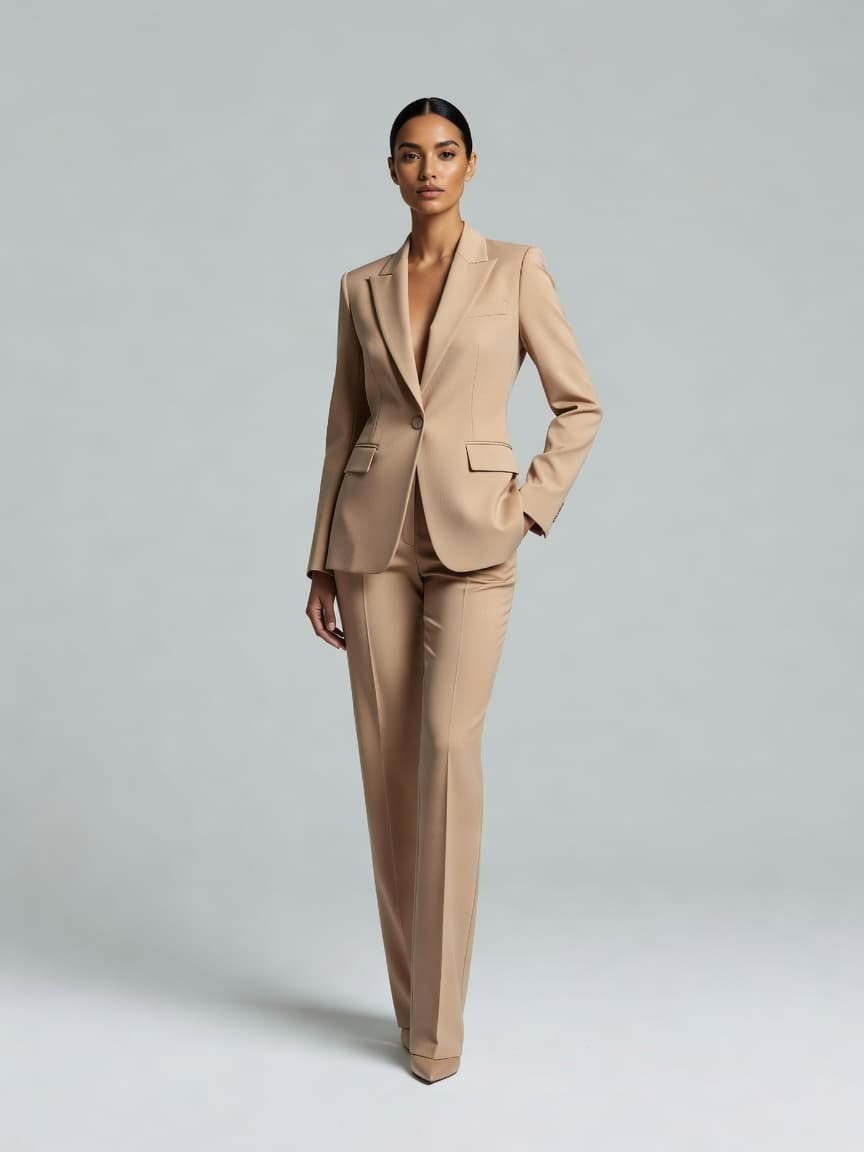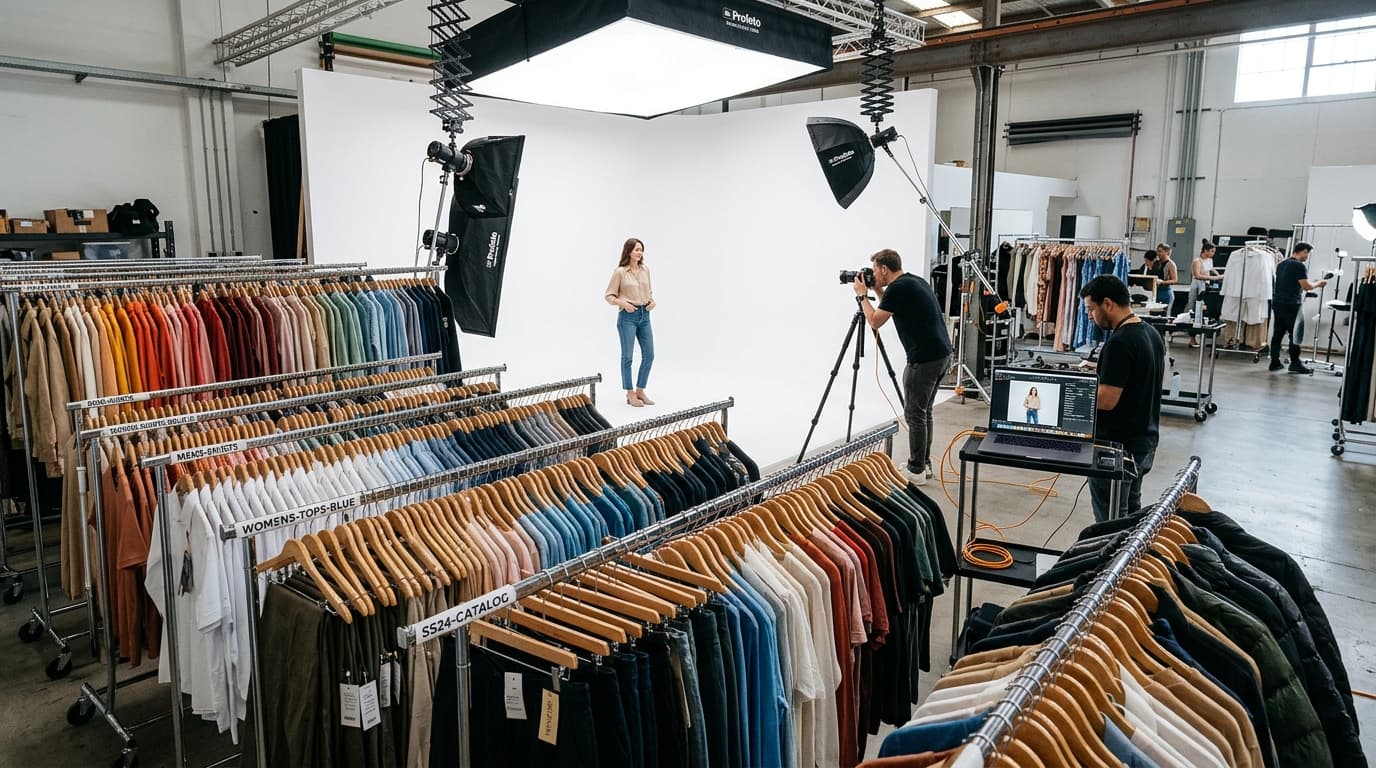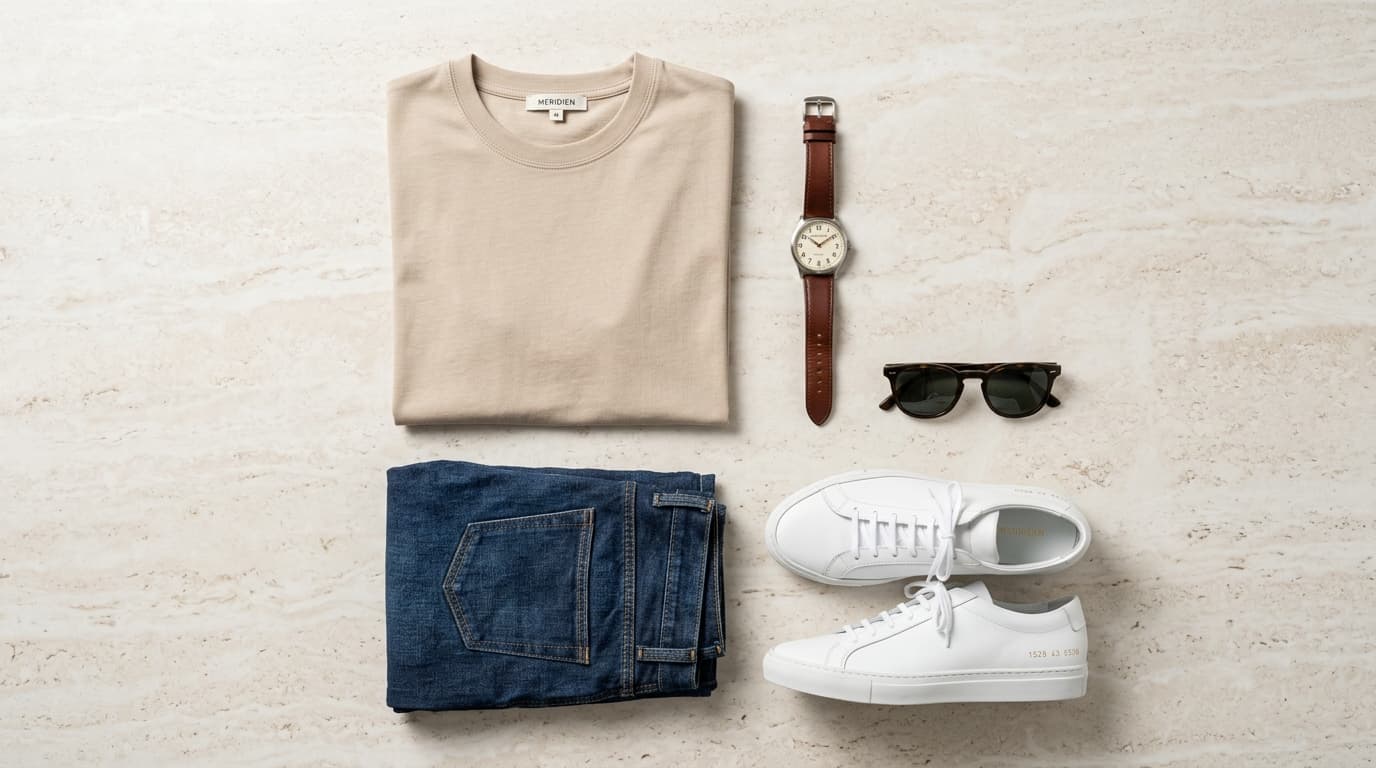
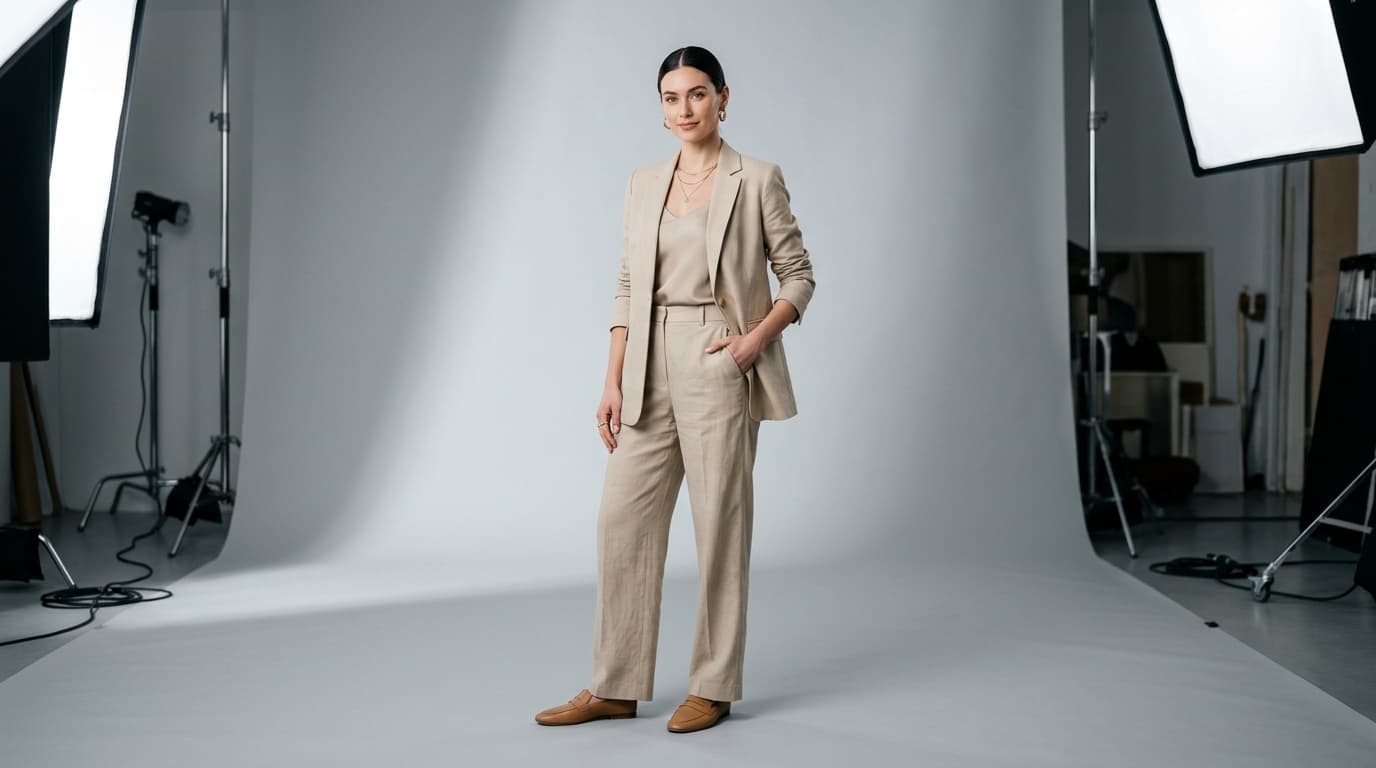
The Model Posing Principle: Choosing the right fashion model poses is not merely about making a model look attractive—it is about presenting each garment's cut, drape, texture, and silhouette with absolute clarity so shoppers can understand exactly how it fits and feels.
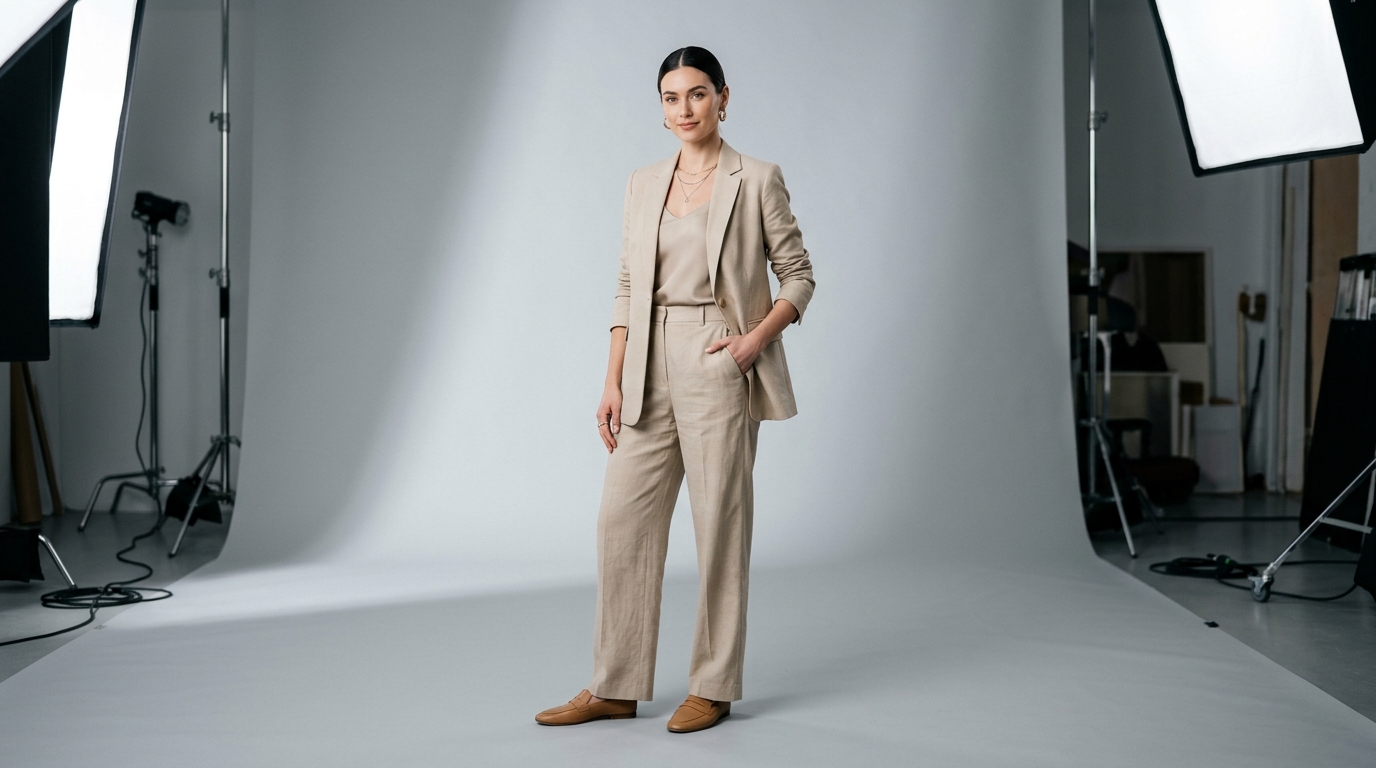 Professional fashion model poses in a studio setup highlighting clothing fit, cut, and silhouette
Choosing the right fashion model poses can make a major difference in how clothing looks in photographs. A slight turn can reveal the shape of a blazer, a side view can show the cut of a pair of jeans, and a walking pose can bring a flowing dress to life. The best pose depends on the garment, the image's purpose and the details you want people to notice.
For fashion brands, ecommerce stores, photographers and online sellers, the goal isn't simply to make a model look good. It's to present each outfit clearly while creating images that match the brand's visual identity.
In this guide, you'll discover 15 fashion model poses for clothing photography, including how to direct each pose, which garments it suits, and when to use it for ecommerce product pages, lookbooks or lifestyle campaigns. You'll also learn how to build a consistent pose sequence for your catalog and explore how AI can help you create additional on-model images.
How to Choose the Right Fashion Model Poses
Before choosing a pose, think about what the photograph needs to communicate. A product image should make the garment easy to inspect, while a campaign image can focus more on mood, movement and styling.
Use these three principles to choose fashion model poses that work for your brand:
- Show the garment clearly. Make sure the pose doesn't hide important details such as pockets, buttons, sleeves, waistbands or the overall silhouette.
- Match the pose to the clothing. A structured blazer benefits from a clear view of its shoulders and lapels, while a flowing dress may look better in a pose that reveals its movement.
- Consider the image's purpose. Straight-on and back-facing poses are useful for product information. Walking, leaning and expressive poses are often better suited to lifestyle content and fashion campaigns.
For ecommerce, start with clear, repeatable poses before experimenting with more creative angles. This makes it easier to compare products and maintain a consistent catalog.
15 Fashion Model Poses for Clothing Photography
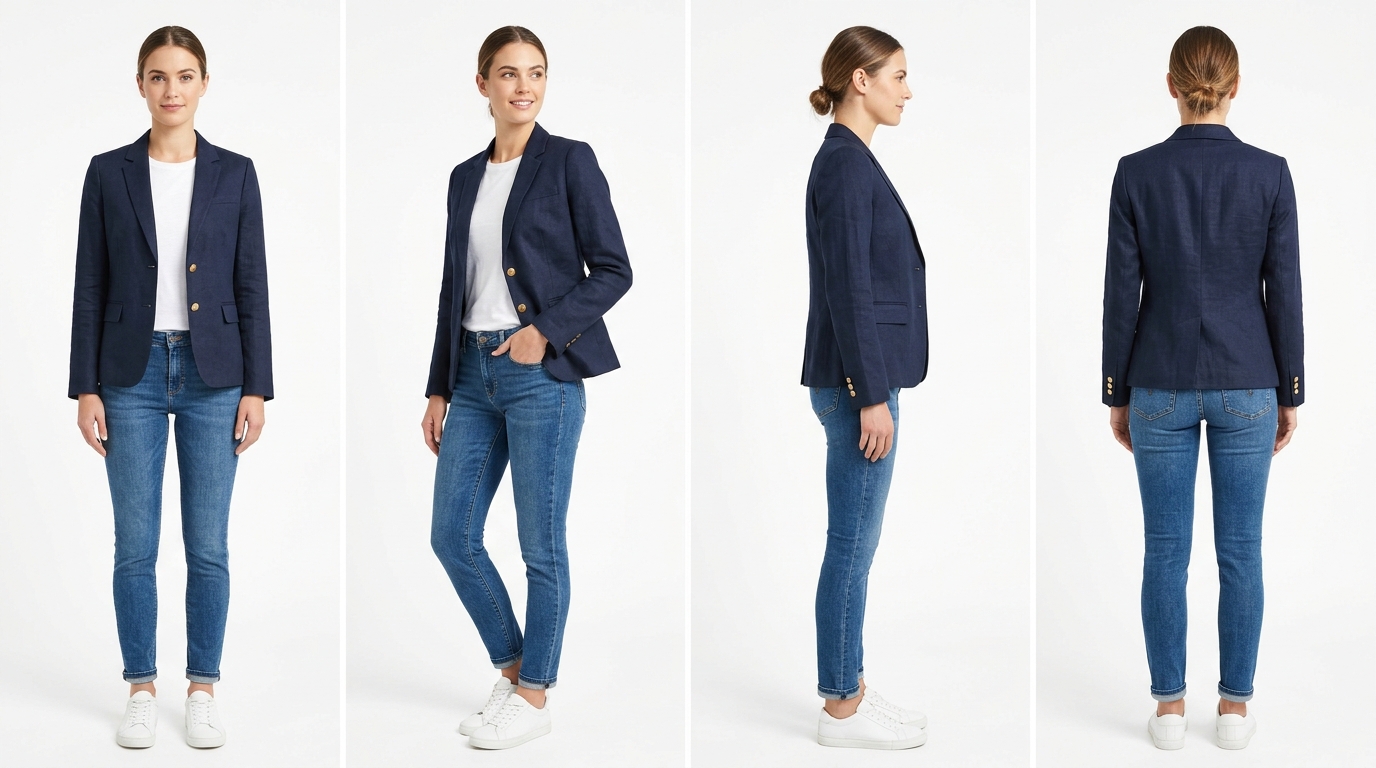 Four essential ecommerce fashion model poses: straight-on, three-quarter turn, side profile, and back view
1. The Straight-On Pose
Best for: T-shirts, shirts, dresses, trousers and ecommerce product pages.
The straight-on pose is one of the most useful fashion model poses because it presents the front of the garment directly to the camera. The model stands naturally, faces forward and keeps their arms relaxed.
How to create the pose:
- Position the shoulders and hips toward the camera.
- Keep the posture natural rather than rigid.
- Leave a little space between the arms and torso when possible.
- Frame the garment so its length and overall shape are easy to see.
Why it works: It gives shoppers a clear first look at the product. For a pair of trousers, it can show the waistband and leg shape; for a T-shirt, it helps reveal the neckline, sleeves and fit.
Photography tip: Use a consistent camera height and crop across similar products. The result is a catalog that feels organized and makes comparisons easier.
2. The Three-Quarter Turn
Best for: Blazers, coats, dresses, fitted tops and trousers.
In this pose, the model turns their body approximately 30 to 45 degrees away from the camera. The angle adds depth while keeping much of the front of the garment visible.
How to create the pose:
- Turn the torso slightly instead of facing the camera completely.
- Keep the face directed toward the lens if it suits the image.
- Shift the weight naturally onto one leg.
- Check that the angle doesn't hide the garment's defining features.
Why it works: A straight-on image can sometimes look flat. A three-quarter view introduces dimension and helps show how a garment sits around the body.
Photography tip: For a blazer, use this angle to show the lapels and shoulder structure. For a dress, check that the waistline and skirt shape remain visible.
3. The Contrapposto Pose
Best for: Dresses, knitwear, tailored clothing and fashion lookbooks.
The contrapposto pose creates a relaxed, asymmetrical stance by placing more weight on one leg. The hips and shoulders settle into a natural counterbalance, producing a subtle curve through the body.
How to create the pose:
- Shift most of the weight onto one leg.
- Let the opposite knee relax slightly.
- Keep the upper body comfortable and balanced.
- Avoid exaggerated hip movement that changes the apparent fit of the garment.
Why it works: It adds a little movement without requiring the model to walk or make a dramatic gesture. It is especially useful for lookbook photography where the goal is to create a natural but polished silhouette.
4. The Hand-on-Hip Pose
Best for: Fitted dresses, high-waisted trousers, tops and structured jackets.
Placing one hand on the hip creates a defined line through the arm and torso. It can give the image a confident attitude and frame the waist.
How to create the pose:
- Rest one hand gently on the hip.
- Keep the other arm relaxed.
- Try a slight body turn to introduce depth.
- Make sure the hand doesn't cover a pocket, belt, waistband or important design detail.
Why it works: The pose adds shape and personality without requiring a complex movement. It works particularly well for campaign images and selected product photos.
Photography tip: If the waistband or fit around the hips is a key selling point, take a second image with both arms away from the garment.
5. The Hands-in-Pockets Pose
Best for: Jeans, trousers, jackets, hoodies and casualwear.
This relaxed pose is a natural choice for everyday fashion. The model places one or both hands in the garment's pockets, creating an informal look that suits casual collections.
How to create the pose:
- Keep the shoulders and arms relaxed.
- Avoid pushing both hands too deeply into the pockets.
- Check that the fabric doesn't bunch excessively around the hips.
- Keep pocket placement and the waistband visible when they matter to the product.
Why it works: It can make a product feel more natural and wearable. It also provides a useful alternative to a neutral standing pose.
Best practice for ecommerce: Pair this image with a straight-on view. The hands-in-pockets pose adds personality, while the neutral view provides a clearer reference for the garment's shape.
6. The Side Profile
Best for: Fitted dresses, coats, trousers, skirts and activewear.
For a side-profile pose, the model turns approximately 90 degrees away from the camera. This angle reveals the garment's depth, side seams and profile.
How to create the pose:
- Turn the body sideways to the camera.
- Maintain a natural posture without arching the back.
- Position the arms so they don't obscure the garment.
- Keep the full product in frame when length and proportions matter.
Why it works: A side view can answer questions that a front-facing image cannot. It is especially helpful when the cut, volume or profile of the clothing is important.
Photography tip: For trousers, check the rise and leg shape. For a long coat, make sure the hem is visible and the fabric hangs naturally.
7. The Over-the-Shoulder Pose
Best for: Backless dresses, jackets, open-back tops and editorial fashion photography.
The model turns away from the camera and looks back over one shoulder. The pose introduces a more expressive feel while showing part of the back of the outfit.
How to create the pose:
- Turn the torso away from the camera.
- Rotate the head gently toward the lens.
- Keep the neck and shoulders relaxed.
- Move hair away from important back details.
Why it works: It combines a view of the garment's back with a visible facial expression. This makes it useful for lookbooks, social content and secondary product images.
Photography tip: If the back design is a major selling point, include a separate back-facing image as well. An over-the-shoulder pose can hide part of the garment or introduce folds that make details harder to inspect.
8. The Walking Pose
Best for: Flowing dresses, wide-leg trousers, coats and lifestyle campaigns.
A walking pose introduces movement into fashion photography. It can show how a garment falls as the model moves and make a campaign image feel more spontaneous.
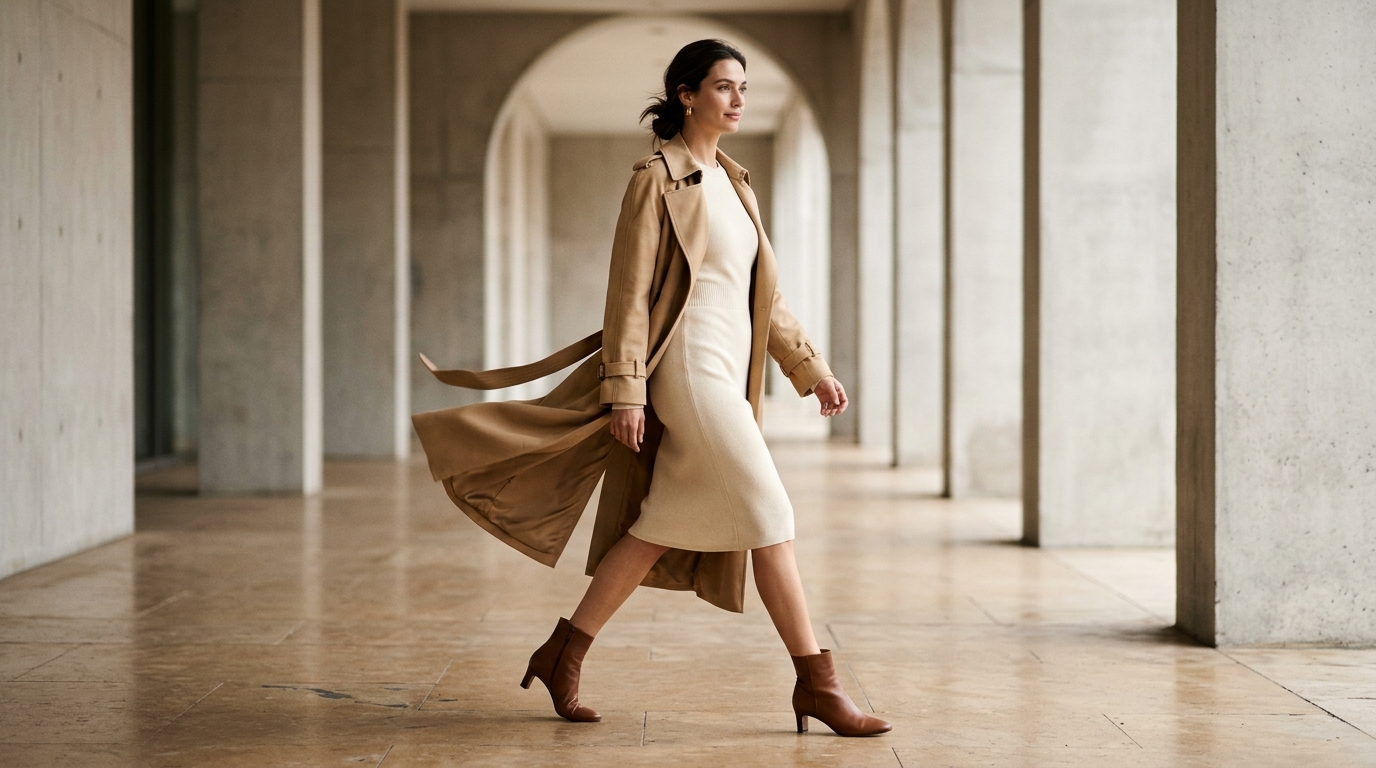 Fashion model in dynamic walking pose demonstrating natural garment movement and fabric drape
How to create the pose:
- Ask the model to take a natural step rather than an exaggerated stride.
- Let the arms move comfortably.
- Capture several frames to find a moment when the garment falls well.
- Check that movement doesn't hide the product's important features.
Why it works: Some garments are best understood in motion. A walking shot can reveal the movement of a skirt, the drape of wide-leg trousers or the way a coat falls around the legs.
Best practice for ecommerce: Use walking images as supporting visuals rather than relying on them as the only view of the garment. Motion can make the product more engaging, but it may also obscure fit details.
9. The Leaning Pose
Best for: Denim, streetwear, oversized shirts, jackets and casual fashion.
The model leans lightly against a wall or another stable surface. The environment adds context and gives the photograph a relaxed, everyday atmosphere.
How to create the pose:
- Choose a simple, stable surface.
- Keep the body supported without collapsing against the wall.
- Allow one leg to bend naturally if comfortable.
- Check that the garment doesn't fold in a way that hides its shape.
Why it works: The pose can make casual clothing feel approachable and works well for lifestyle imagery, lookbooks and social campaigns.
Photography tip: Keep the background simple if the garment is the main subject. A visually busy environment can compete with the clothing.
10. The Seated Pose
Best for: Jeans, trousers, skirts, knitwear and casual outfits.
The model sits on a stool, bench or chair. A seated pose changes the composition and can communicate how the clothing looks in a more everyday setting.
How to create the pose:
- Choose a seat that doesn't dominate the frame.
- Keep the posture comfortable and natural.
- Check how the fabric folds around the waist, hips and knees.
- Avoid awkward cropping that hides important garment details.
Why it works: It adds variety to a fashion gallery and can show how clothing behaves when worn in a seated position.
Photography tip: Remember that fabric folds and proportions change when a person sits down. Keep a standing image in the set so customers can still see the garment's overall shape.
11. The Crossed-Arms Pose
Best for: Blazers, coats, structured knitwear and minimalist campaigns.
The model crosses their arms loosely across the torso. This creates a composed, confident appearance that can work well with structured garments.
How to create the pose:
- Cross the arms comfortably rather than squeezing them tightly against the body.
- Keep the shoulders relaxed.
- Avoid covering distinctive lapels, buttons, pockets or prints.
- Try a slight three-quarter turn for more dimension.
Why it works: The pose creates a strong visual shape and suits editorial imagery. However, it can hide too much of the garment to serve as the main ecommerce product view.
12. The One-Foot-Forward Pose
Best for: Jeans, trousers, skirts, dresses and full-body fashion photography.
The model places one foot slightly in front of the other. The small shift creates a more dynamic stance without requiring a full walking movement.
How to create the pose:
- Move one foot a short distance forward.
- Keep the weight balanced and comfortable.
- Avoid twisting the hips too far.
- Check the leg lines and garment length before taking the final shot.
Why it works: It introduces subtle movement while keeping the clothing visible. This makes it a versatile option for both catalog and lookbook photography.
13. The Fabric-Movement Pose
Best for: Maxi dresses, skirts, silk garments, lightweight fabrics and flowing outerwear.
In this pose, the model gently moves or holds part of the fabric to show its texture, volume or movement. The gesture should highlight the garment rather than distract from it.
How to create the pose:
- Ask the model to lift or move the fabric slightly.
- Keep the gesture controlled and natural.
- Capture the garment when its shape is still easy to understand.
- Avoid pulling the fabric so much that it distorts the fit.
Why it works: This pose helps communicate qualities that a static image may not fully convey. It is particularly effective for campaign imagery and as a supplementary visual in a product gallery.
14. The Detail-Focused Pose
Best for: Shirts, knitwear, jackets, tailored clothing and garments with distinctive design features.
A detail-focused pose directs attention to one specific feature, such as a collar, cuff, button, pocket or fabric texture. The model might adjust a sleeve or gently frame the neckline with a hand.
How to create the pose:
- Choose one feature to emphasize.
- Use a natural hand gesture to guide the viewer's attention.
- Keep fingers away from the feature itself.
- Move closer or adjust the crop if the detail remains difficult to see.
Why it works: Detail images help communicate construction and design. For a shirt, that might mean the collar and cuffs; for a jacket, the buttons, stitching or pocket finish.
Photography tip: Combine detail-focused images with full-body views. A close-up adds useful information, but it cannot replace a clear picture of the entire garment.
15. The Back-Facing Pose
Best for: Jackets, jeans, dresses, shirts and garments with important back details.
The model faces away from the camera, presenting the back of the garment directly. This is one of the most practical fashion model poses for ecommerce because it reveals features that aren't visible from the front.
How to create the pose:
- Position the model with their back toward the camera.
- Keep the shoulders level and the posture natural.
- Move hair away from the garment when necessary.
- Check the alignment of seams, pockets, prints and closures.
Why it works: A clear back view gives shoppers a more complete understanding of the product. It is particularly useful for denim, outerwear, dresses and garments with distinctive back construction.
Photography tip: Keep the pose straightforward when the goal is to show the garment accurately. Use an over-the-shoulder variation separately if you also want a more editorial look.
Which Fashion Model Poses Work Best for Different Clothes?
The best fashion model poses depend on what makes each garment distinctive. Use the following table as a practical starting point when planning a shoot or building a product image set:
| Clothing Type | Best Poses to Try | Main Details to Show |
|---|---|---|
| Dresses and skirts | Three-quarter turn, contrapposto, fabric movement, back-facing | Silhouette, waistline, length, drape and back design |
| Jeans and trousers | Straight-on, hands in pockets, side profile, one foot forward | Waistband, rise, leg shape, pockets and length |
| Blazers and coats | Straight-on, three-quarter turn, crossed arms, back-facing | Shoulders, lapels, closures, overall structure and fit |
| T-shirts and tops | Straight-on, hand on hip, three-quarter turn, detail-focused | Neckline, sleeve length, body shape and fabric texture |
| Hoodies and casualwear | Hands in pockets, leaning, walking, seated | Relaxed fit, hood, pockets and everyday styling |
| Activewear | Straight-on, side profile, walking, one foot forward | Fit, coverage, construction and movement where relevant |
| Knitwear and flowing fabrics | Contrapposto, fabric movement, detail-focused | Texture, volume, drape and distinctive details |
For example, a pair of jeans may need a straight-on view to show the waistband, a side profile to reveal the cut and a back-facing pose to show the pockets. A flowing dress may benefit more from a three-quarter turn and a fabric-movement shot. Choose poses based on the information each product image needs to communicate.
How to Build a Consistent Pose Sequence for Ecommerce
You don't need all 15 fashion model poses for every product. A smaller, carefully planned set is usually easier to produce consistently and more useful to shoppers.
Start with the essential views
For many clothing products, a practical starting sequence includes:
- Front view: Introduces the garment and shows its overall design.
- Three-quarter view: Adds depth and helps communicate the silhouette.
- Side view: Reveals the profile, cut and length.
- Back view: Shows back construction, pockets, closures or prints.
- Detail view: Highlights fabric, stitching, buttons or other defining features.
Not every product requires five separate images. Prioritize the views that answer real questions about the garment and follow the image requirements of your sales channel.
Keep comparable products consistent
If one pair of jeans is photographed straight-on and another from a dramatic low angle, customers may find it harder to compare them. Consistent framing, camera height, lighting and pose help create a more coherent catalog.
Create a simple pose guide for each product category. For example, your standard sequence for trousers might include front, side, back and detail views. You can then add a seated or walking pose when it provides useful information.
Separate product photography from campaign photography
Product photography and fashion campaigns serve different purposes. Product images help customers inspect an item, while campaign images communicate mood, styling and brand identity.
A practical workflow is to create a consistent core set for product pages, then add lifestyle images for advertising, social media and lookbooks. If you need help planning the complete shoot, read our guide on how to photograph clothes to sell.
Common Fashion Model Posing Mistakes to Avoid
Even a popular pose can make a product photograph less effective if it hides the garment or creates a misleading impression of its fit. Watch for these common mistakes:
- Covering important details: Hands, arms and hair should not hide pockets, buttons, waistbands or distinctive design elements.
- Overdoing the pose: Extreme angles can distort how the clothing appears to fit. Keep ecommerce poses natural and repeatable.
- Using the same pose for every garment: Consistency matters, but a flowing dress and a structured blazer don't necessarily need the same variations.
- Ignoring the back of the garment: A front view rarely communicates every feature. Include a back view when it adds useful product information.
- Mixing inconsistent crops: Random framing and camera angles can make a catalog feel disjointed.
- Prioritizing style over clarity: A dramatic pose may work for a campaign but be less useful as the main product image.
- Ignoring fabric behavior: Sitting, walking and twisting can change how a garment folds. Check that the final image still represents the product clearly.
How to Create More Fashion Model Poses with AI
Traditional fashion photography gives brands direct control over models, styling, lighting and movement. However, arranging additional shoots for every product, colorway and campaign can be time-consuming.
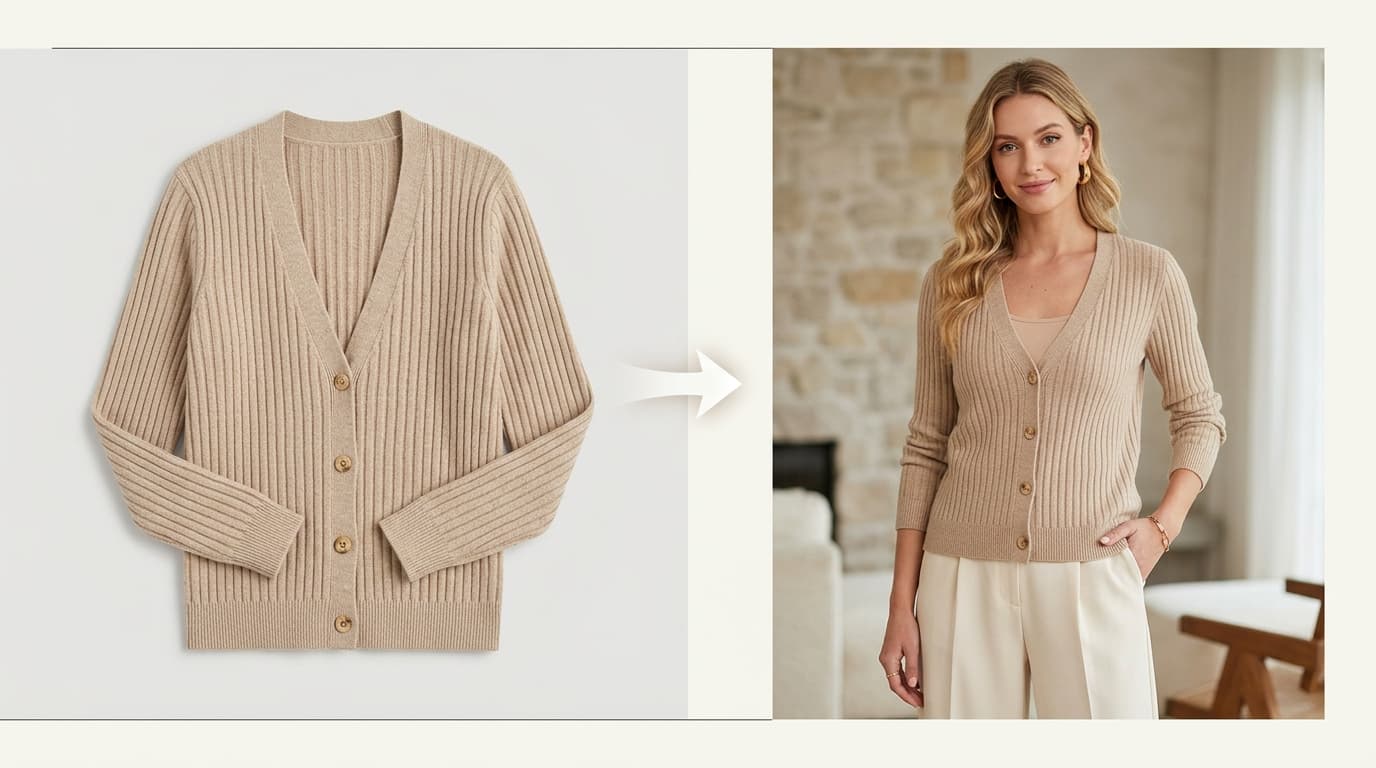
AI-assisted fashion photography offers another way to explore on-model visuals. Depending on the tool and workflow, brands can start with an apparel image and generate additional images with different models, poses or settings, reducing the need to arrange a separate physical shoot for every variation.
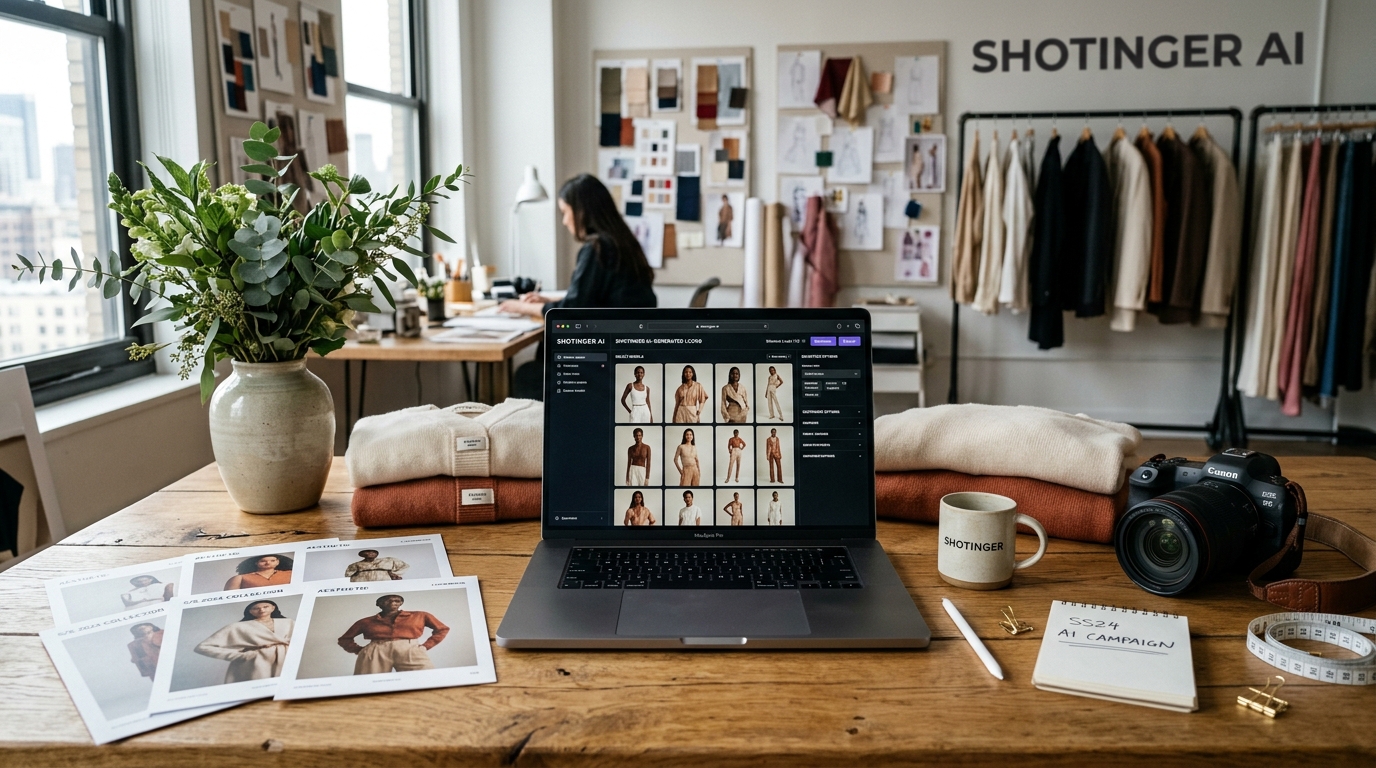 Shotinger Apparel Studio interface generating diverse on-model fashion poses from garment photos
Choose studio-style poses for product pages
For a clean catalog look, Shotinger Apparel Studio helps create AI-generated on-model apparel imagery with a studio-style presentation. This type of workflow can be useful when you want product images to feel consistent across a collection.
Choose lifestyle poses for campaigns and lookbooks
For more expressive visuals, Shotinger Apparel Lifestyle lets you create on-model fashion imagery with selected poses, expressions and lifestyle scenes. This can help you explore variations for lookbooks, social content and campaign creatives.
If you're comparing tools and workflows, explore our guide to AI fashion model generators.
Whichever approach you choose, review the results carefully. Check garment colors, logos, seams, buttons, prints, proportions and other important product features. An image can look attractive while still presenting a detail inaccurately. Before using generated images commercially, make sure they represent the actual product faithfully and comply with the requirements of your sales channels.
A Simple Checklist for Your Next Fashion Shoot
Use this checklist to turn your favorite fashion model poses into a repeatable workflow:
- Identify the garment's most important features.
- Choose a clear primary pose that shows the product well.
- Add side, back or detail views where they provide useful information.
- Choose one creative pose if it supports the garment or campaign.
- Keep framing and visual direction consistent across comparable products.
- Check that the model's hands, arms and hair don't hide key details.
- Review every image for garment accuracy and clear presentation.
Final Thoughts on Fashion Model Poses
The best fashion model poses are the ones that help the outfit stand out while making the clothing easy to understand. A straight-on pose can communicate the basics, a three-quarter turn adds dimension, and a walking pose can reveal the movement of a flowing garment. Side, back and detail views complete the picture when shoppers need more information.
For ecommerce brands, start with clear and consistent product views. Then add more expressive poses for lookbooks, lifestyle photography and social campaigns. Match each pose to the garment, keep defining details visible and check the final images carefully.
With a simple pose library and a repeatable workflow, you can create fashion photography that feels cohesive, presents every outfit clearly and gives your audience a better view of the clothing.
Ready to transform your apparel photos into on-model imagery?
Generate photorealistic fashion model photography from your existing product photos in seconds with Shotinger.
Explore Shotinger Apparel Studio →
Start creating campaign-ready product visuals
Transform flat lays, packshots, and jewelry photos into photorealistic on-model imagery in under 60 seconds.